TL;DR: Vibe coding works when you treat it as a loop, not a wish. Write a five-sentence spec, generate a first version, fix the design layer separately with AIDesigner, then iterate one change at a time. Most people fail because they ask for everything at once and then argue with a conversation that has already gone bad.
How Do You Vibe Code?
Vibe coding is the practice of building software by describing what you want in plain English and letting AI write the code. The workflow is a loop: write a short spec, generate a first version, review whether the core flow works, refine with one change per prompt, then ship. You judge the output by whether it works, not by reading every line.
That’s the whole method. The difficulty isn’t the concept — it’s that the loop breaks in specific, predictable ways, and most guides skip the part where it breaks.
I’ve built a lot of things this way, and the pattern is consistent: the first version arrives fast and feels like magic, then you spend three times as long fighting the app into shape. Almost all of that lost time comes from two things. You asked for too much at once, or you kept prompting a conversation that had already lost the plot.
This guide walks the loop end to end, with the failure modes marked.
What You’ll Need Before You Start
Not much, which is the point:
- An account with one AI build tool. Most have a free tier that’s enough for a first project.
- A clear idea of what you’re building. Not a spec document. One paragraph you could say out loud.
- About an hour. A small app’s first working version genuinely lands in that window.
You don’t need a local development environment, a GitHub account, or any knowledge of a programming language. If you want the background on where this practice came from and why it caught on, start with what vibe coding is and come back.
Step 1: Pick Your Build Target, Then the Tool
The most common early mistake is picking a tool because it’s popular rather than because it matches what you’re building. Every tool in this category is genuinely good at one shape of problem and mediocre at the others.
Start from what you’re making:
| What you’re building | Tool that fits | Where it breaks first |
|---|---|---|
| Full-stack app with login and a database | Bolt.new, Lovable | Generic UI; auth and data model need review |
| Website or landing page | AIDesigner | Not a backend tool — pair it with one if you need data |
| A single UI component | v0 | Stops at the component; you wire it up |
| Changes to code you already have | Cursor, Claude Code | Needs you to read diffs; assumes some fluency |
| Something to run with zero setup | Replit | Usage-based costs climb quietly as you iterate |
That last column is the one worth internalizing. Each of these tools has a characteristic way of disappointing you, and knowing it in advance is what separates an hour of building from an afternoon of confusion.
Which Tool Fits Which Kind of Builder
The best vibe coding tool depends on your experience level. Lovable suits non-coders who need a real backend, Bolt.new fits people who can read some code, Replit is best for learning with zero setup, Cursor and Claude Code handle existing codebases, v0 builds single components, and AIDesigner covers the interface layer.
Build target gets you most of the way there. The other half is who you are — how much code you can read, how much you care about how it looks, and how much unpredictability you can tolerate in a bill.
If you’ve never written a line of code: Lovable
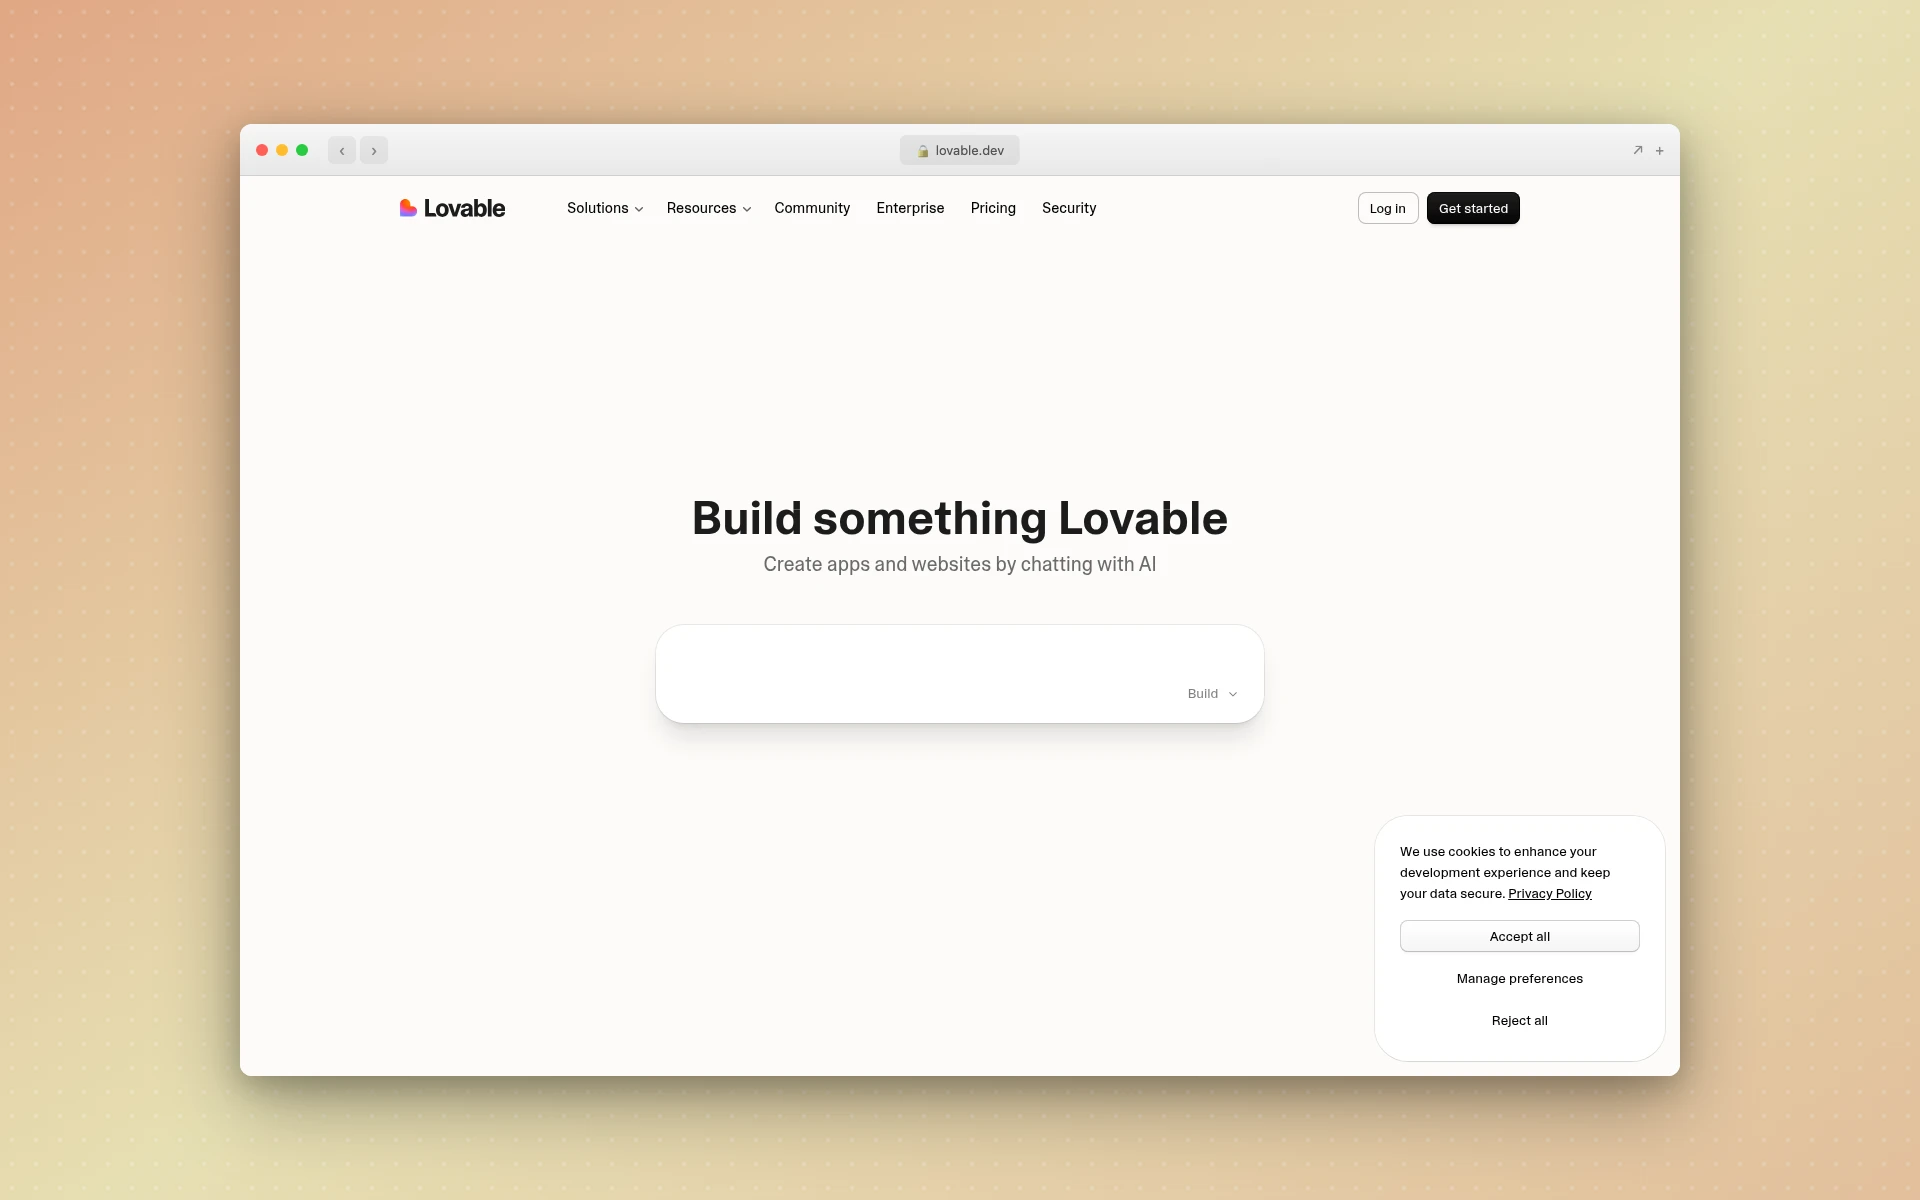 Lovable opens straight to a prompt box — “create apps and websites by chatting with AI” is the whole pitch.
Lovable is aimed squarely at non-developers building real software, and it shows in the defaults. It pairs a mature Supabase integration for database and auth with GitHub sync, so what you build has an actual backend rather than a convincing demo. It also pays more attention to visual quality than the code-first tools, though “better than the others” still means you’ll want to fix the design layer.
The catch: the backend being real means you can create real problems — misconfigured auth rules look fine until they don’t. $25/month.
If you want a full-stack app and can read a little code: Bolt.new
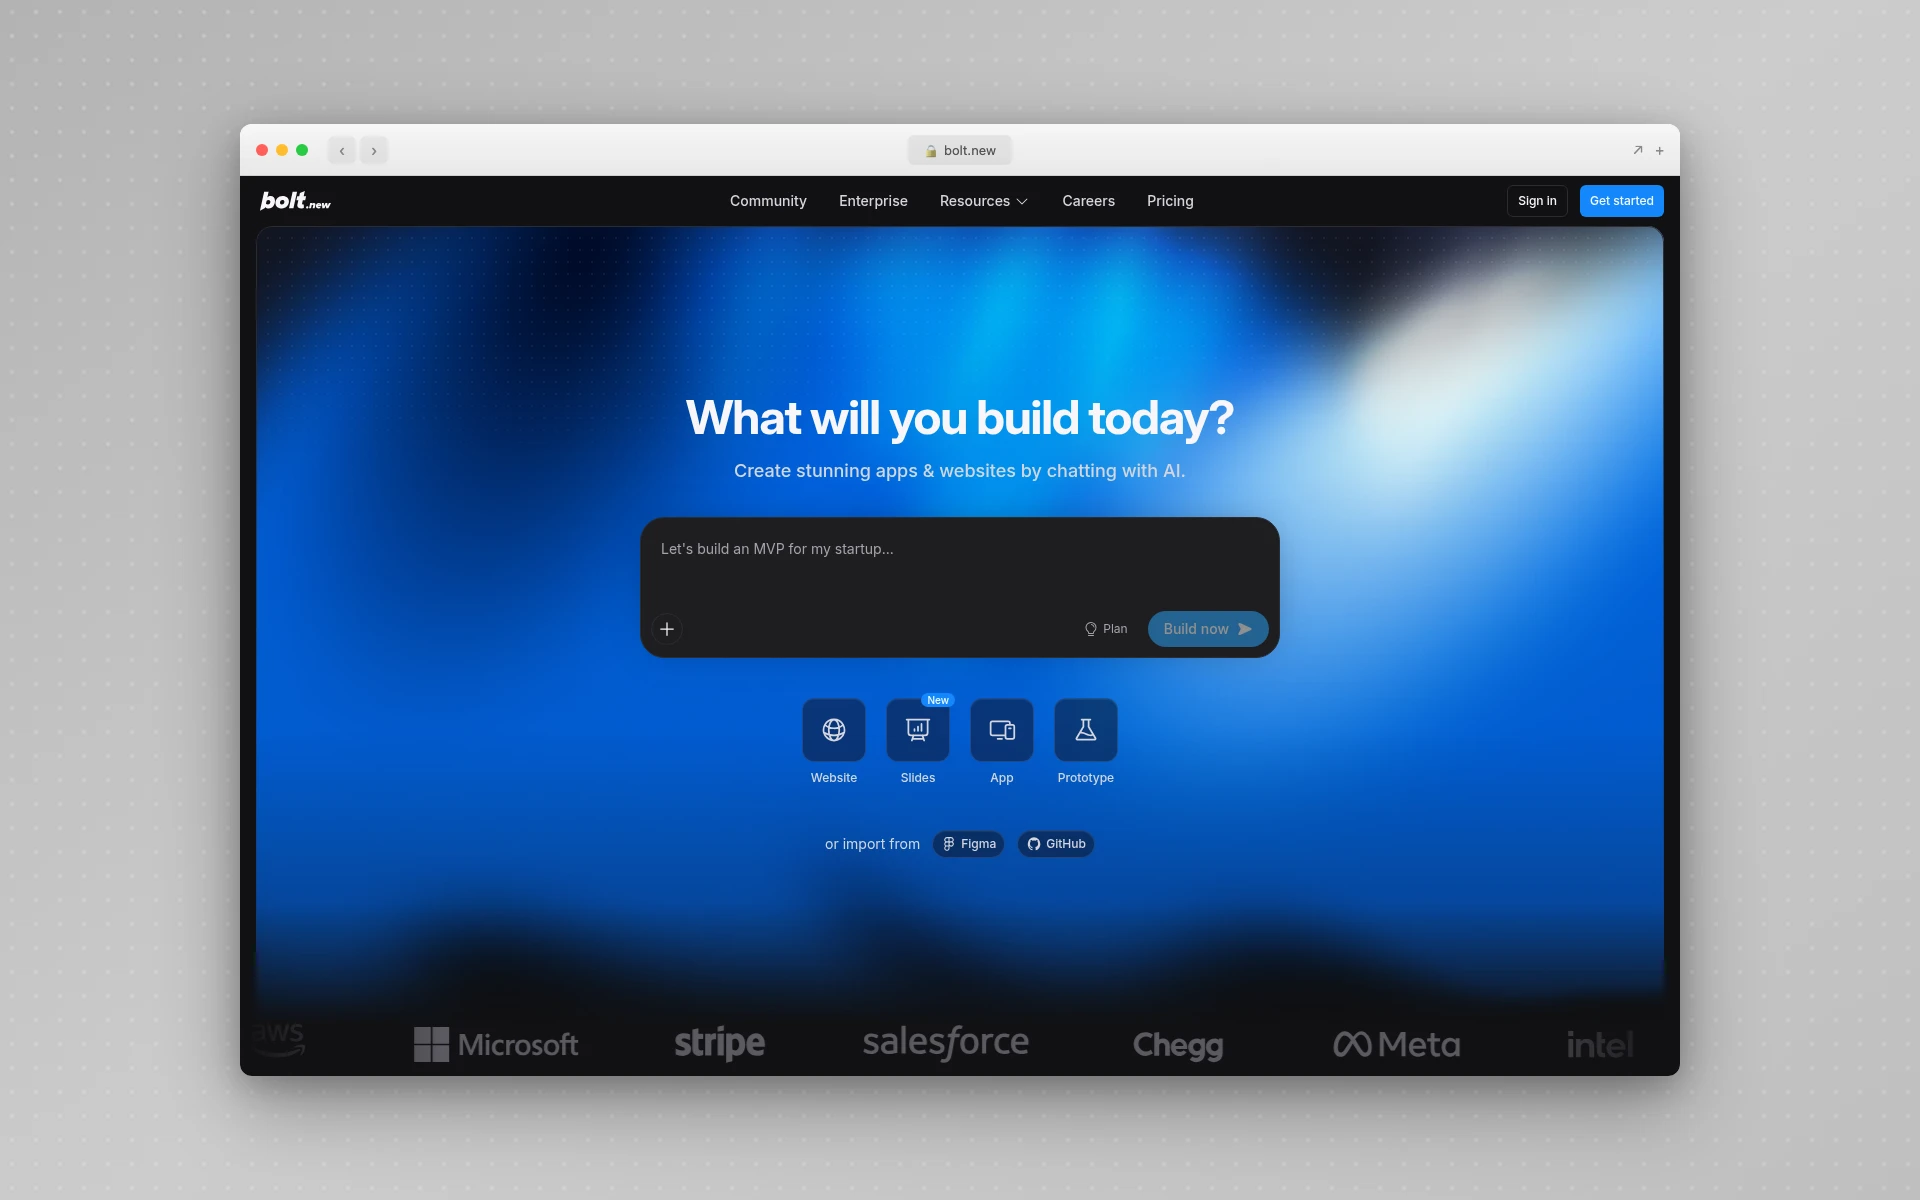 Bolt.new runs a full Node environment in the browser, which is why generated apps preview instantly.
Bolt.new comes from StackBlitz and runs a full Node environment inside your browser using WebContainers, which is why it feels quicker than it has any right to. It integrates natively with Supabase, Netlify, GitHub, and Stripe. There’s also an open-source fork, bolt.diy, that lets you bring your own API keys and run it locally.
Most people prototype in Bolt and export to GitHub to keep going in a real editor. That’s the intended path, not a failure.
The catch: it’s positioned closer to a cloud IDE than a no-code builder, so you’ll hit moments where reading the code isn’t optional. $25/month.
If you’re learning and want zero setup: Replit
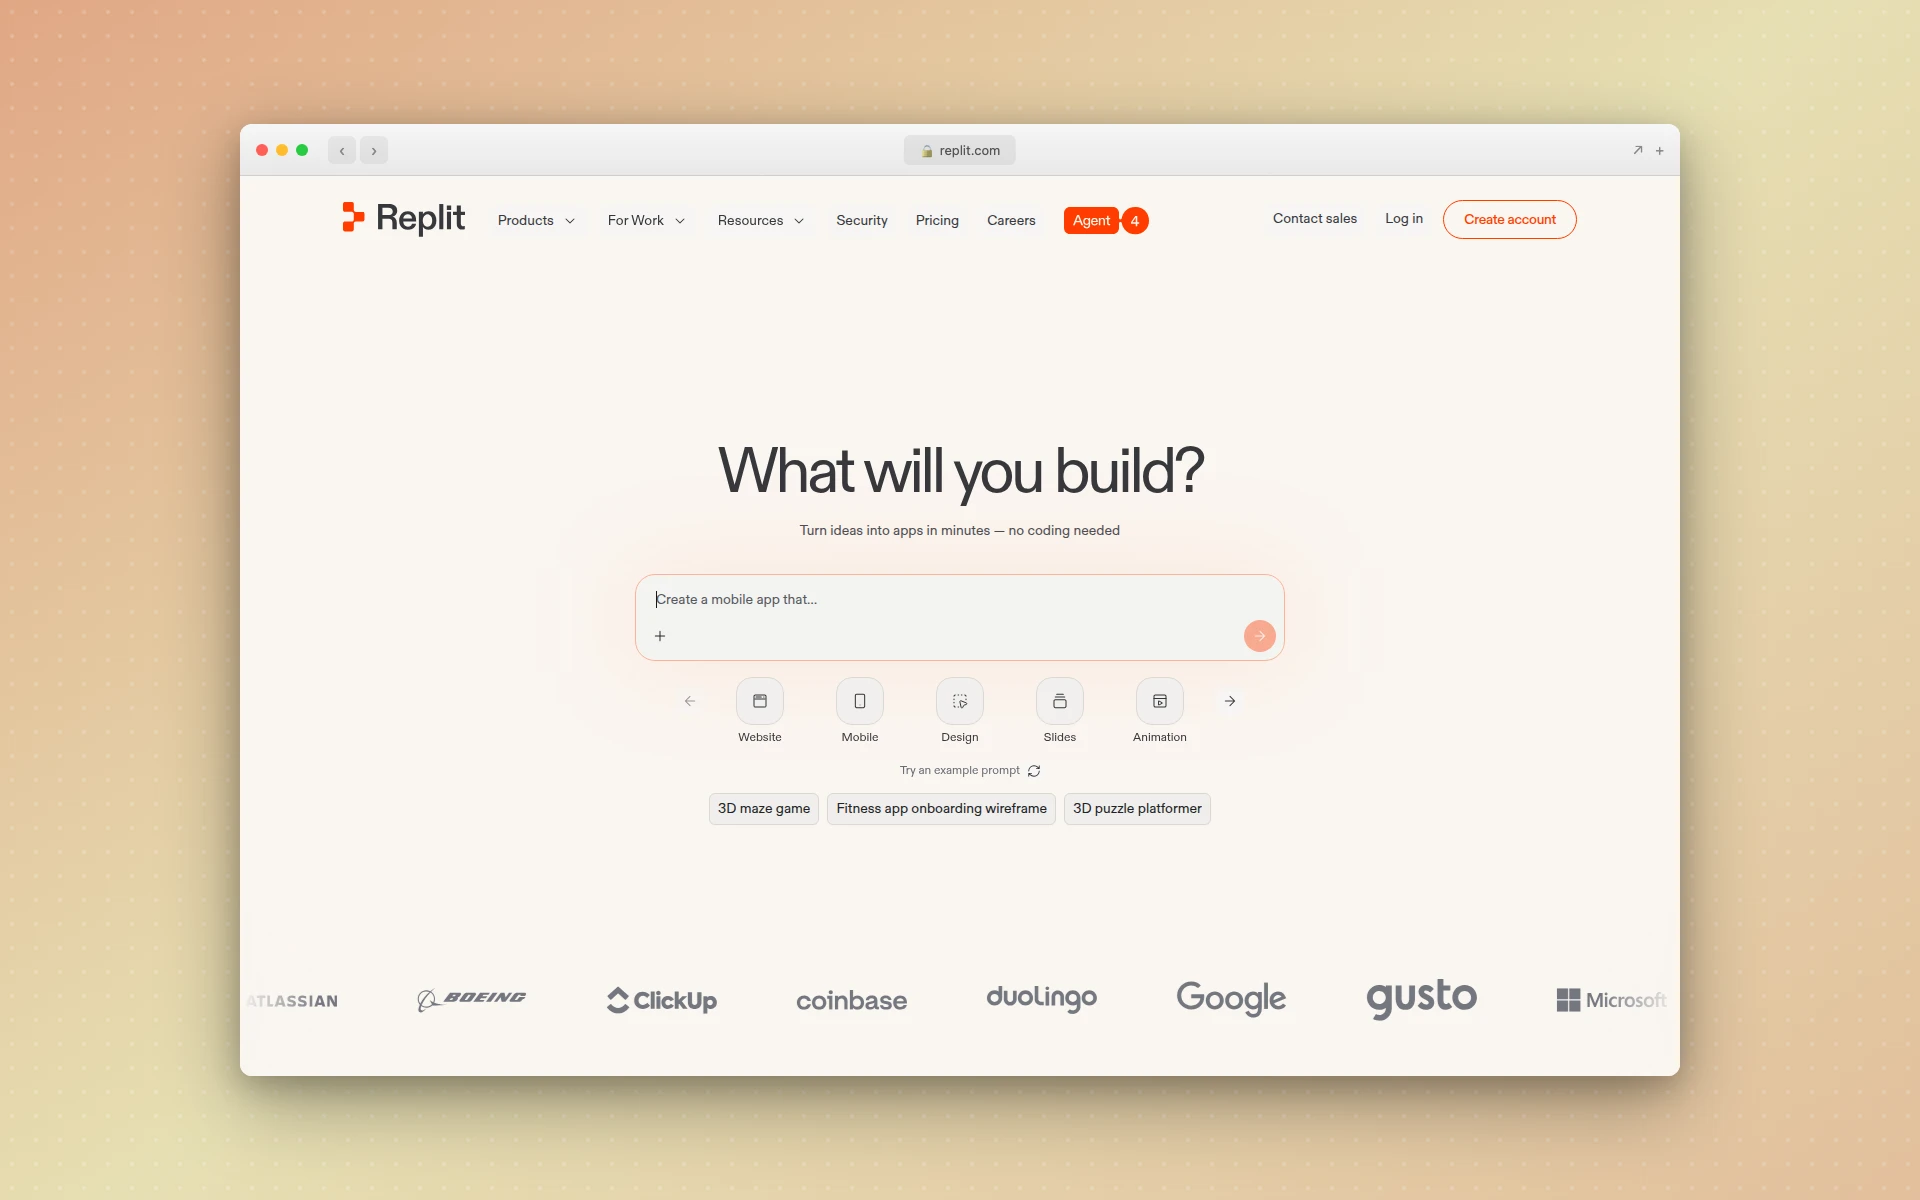 Replit runs entirely in the browser and gives every project a live URL immediately.
Nothing to install, nothing to configure, and every project gets a live URL immediately. It supports Python, Go, and dozens of languages rather than only web apps, which makes it the best place to poke at things when you’re not sure what you’re building yet.
The catch, and it’s a real one: Replit uses effort-based pricing for its Agent. You’re billed per checkpoint according to how much work the Agent did, you don’t see the price until after it’s charged, and you’re charged even when the attempt fails or loops. Active users routinely spend several times the subscription price. Watch the meter early rather than discovering it at the end of the month. Core is about $20/month plus that usage.
If you already have a codebase: Cursor or Claude Code
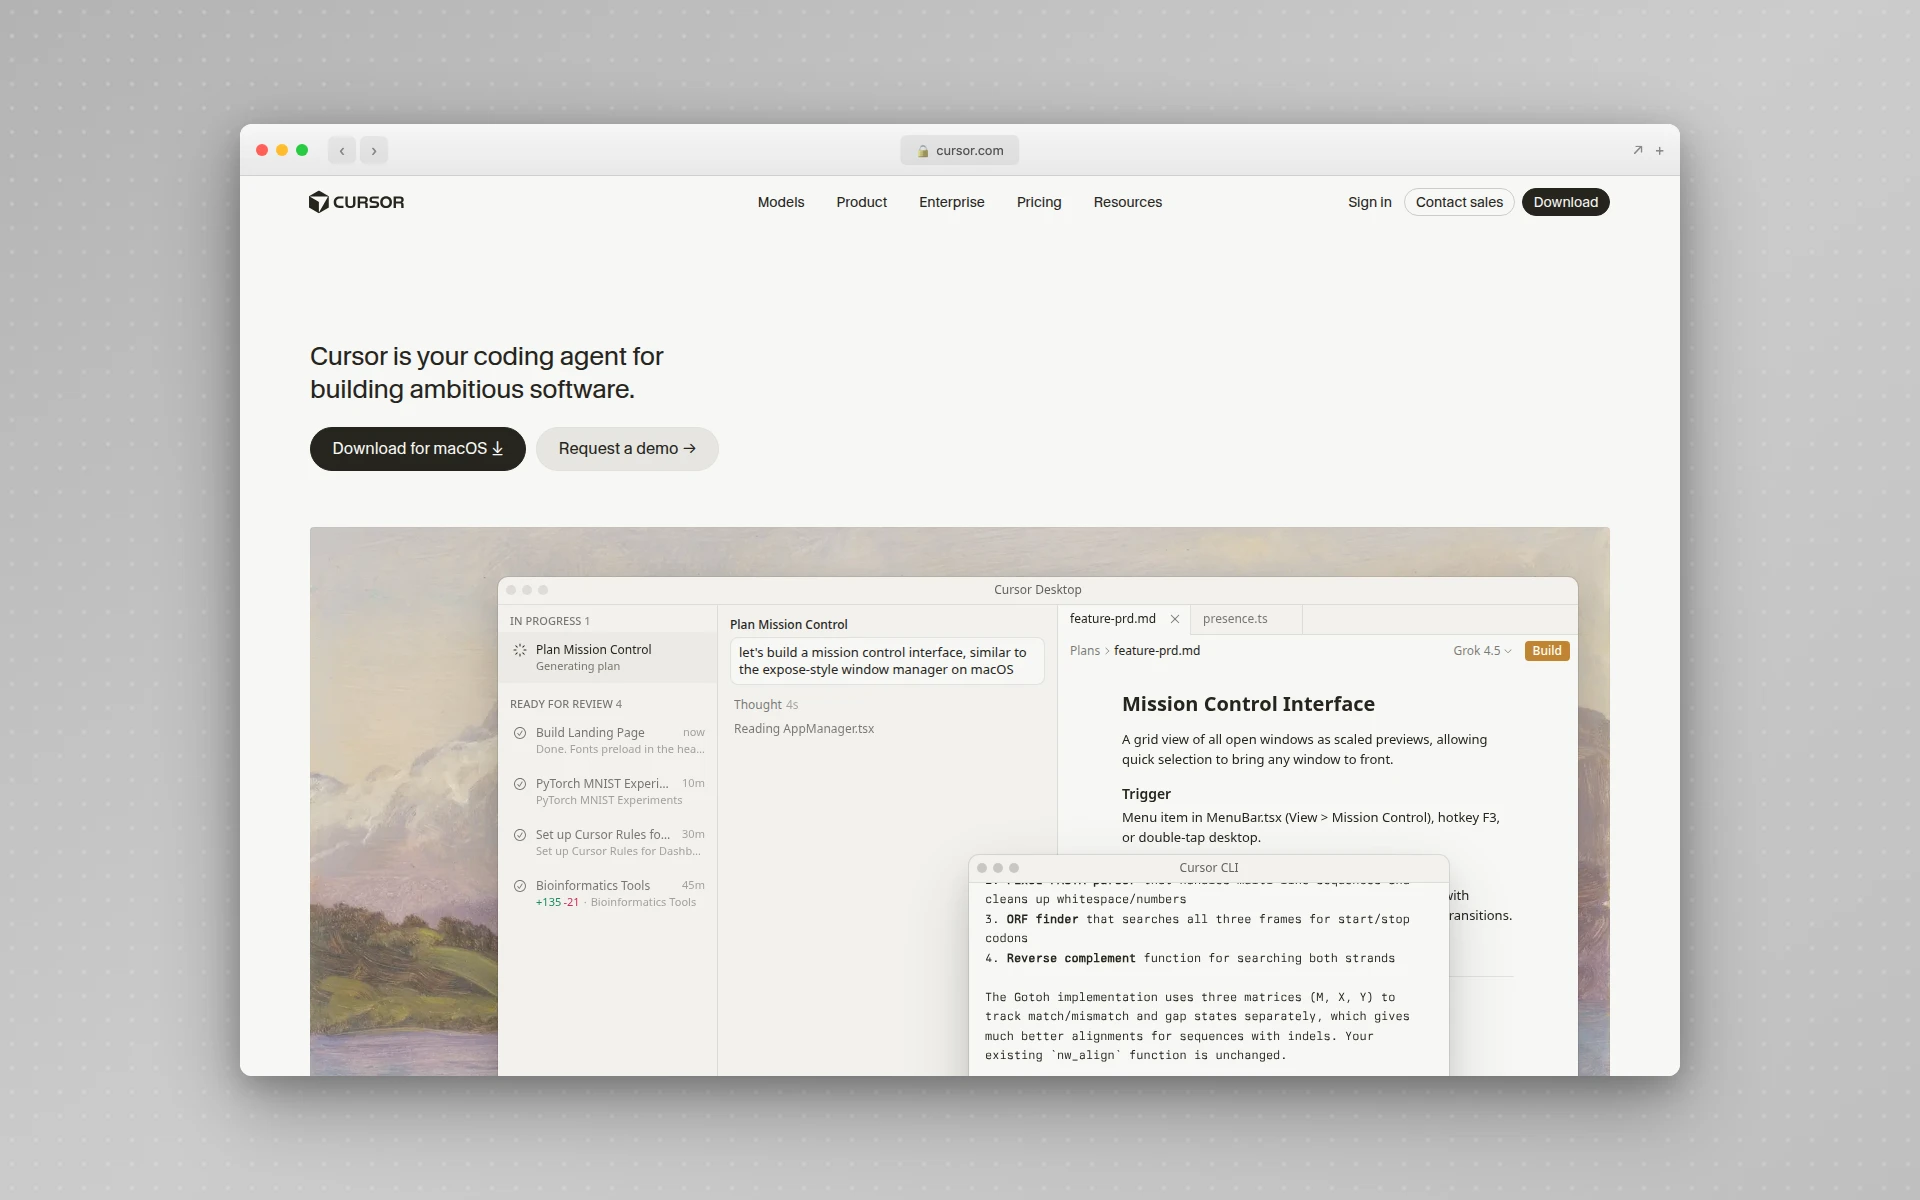 Cursor is VS Code with AI built through it, aimed at developers changing code rather than generating apps.
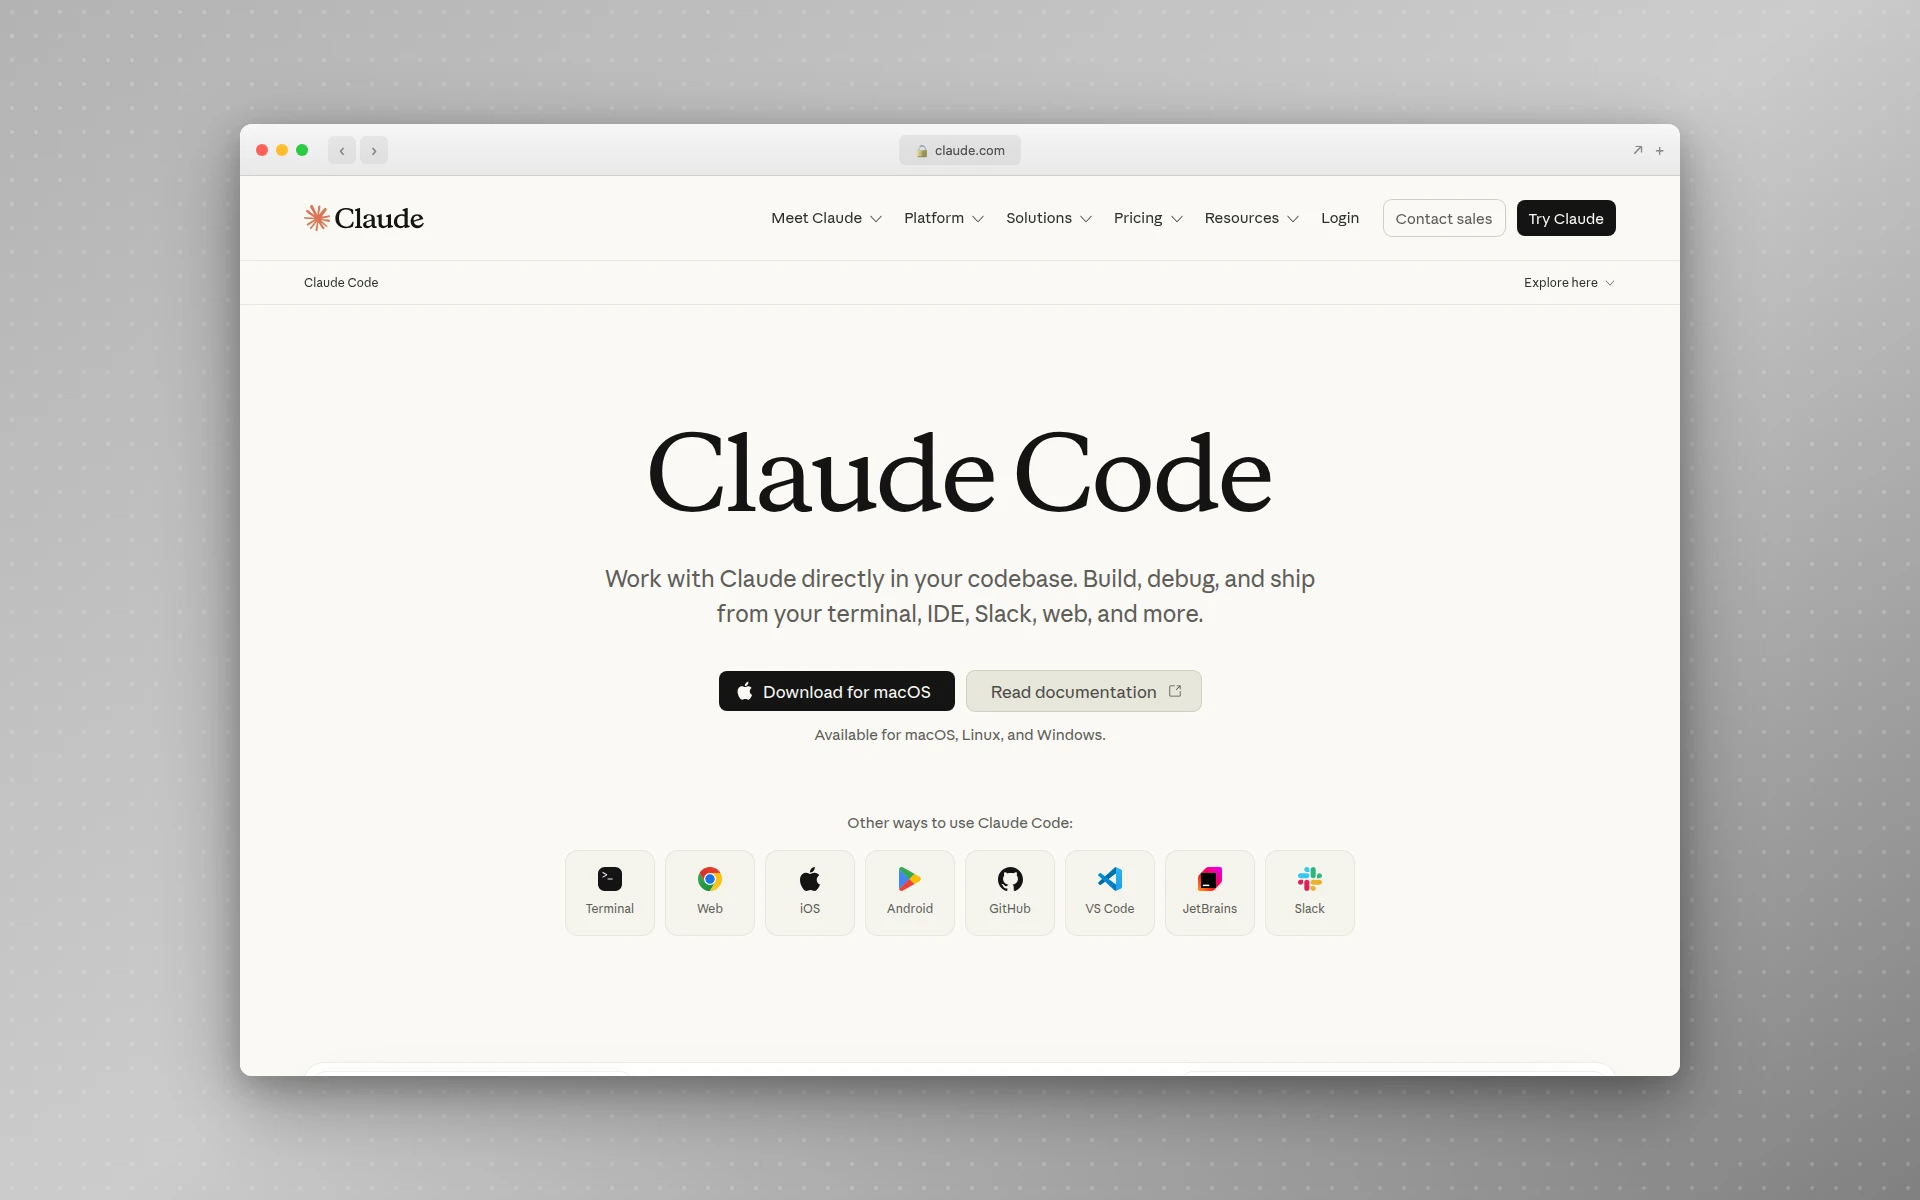 Claude Code does the same work from a terminal and connects to MCP servers.
This is a different job from the tools above. You’re not generating an app, you’re changing one, and that needs something that reads your existing project. Cursor is VS Code with AI woven through it — familiar if you’ve used VS Code, multi-model, and aware of your whole project rather than the open file. Claude Code does the same work from a terminal and connects to MCP servers, which is how you get design tools and databases into the loop.
The catch: both assume you can read a diff and say whether it’s right. That’s the actual entry requirement. See Claude Code vs Cursor if you’re choosing between them, how to use Cursor AI to get set up, or the full walkthrough of vibe coding with Claude if you’ve already picked Claude Code.
Cursor $20/month. Claude Code comes with Claude Pro at $20/month.
If you want the agent to drive: Devin Desktop
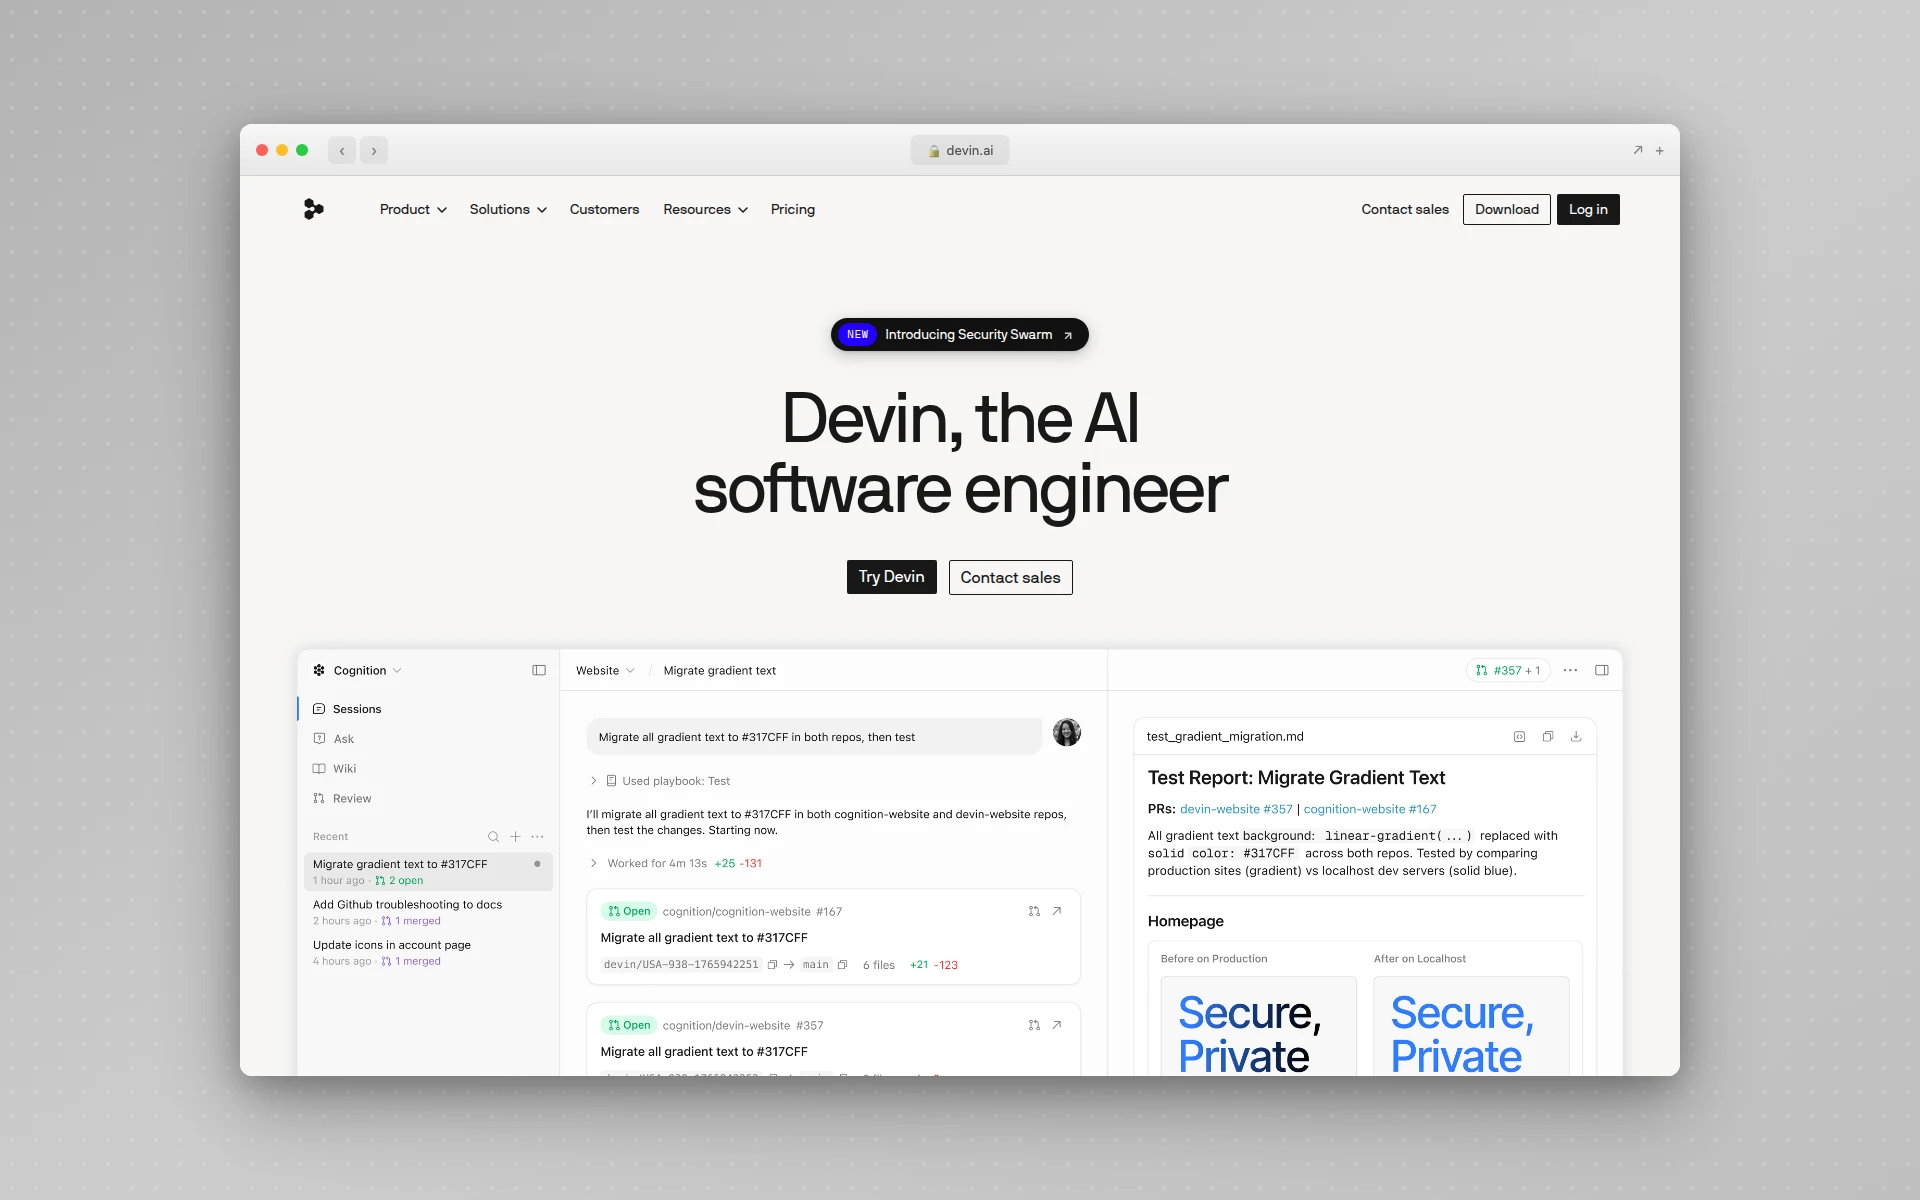 Devin Desktop now sits under Cognition’s Devin product line — the site leads with assigning work to an agent and reviewing the pull requests it opens.
The editor formerly called Windsurf, renamed by Cognition in June 2026. Its default screen is now a board for managing agents rather than a code canvas, which tells you the philosophy: you assign work and review results instead of pairing line by line. It also ships the open Agent Client Protocol, so other agents can run inside it.
The catch: handing over that much control is only comfortable once you can tell good output from bad. $20/month.
If you need one good component, not an app: v0
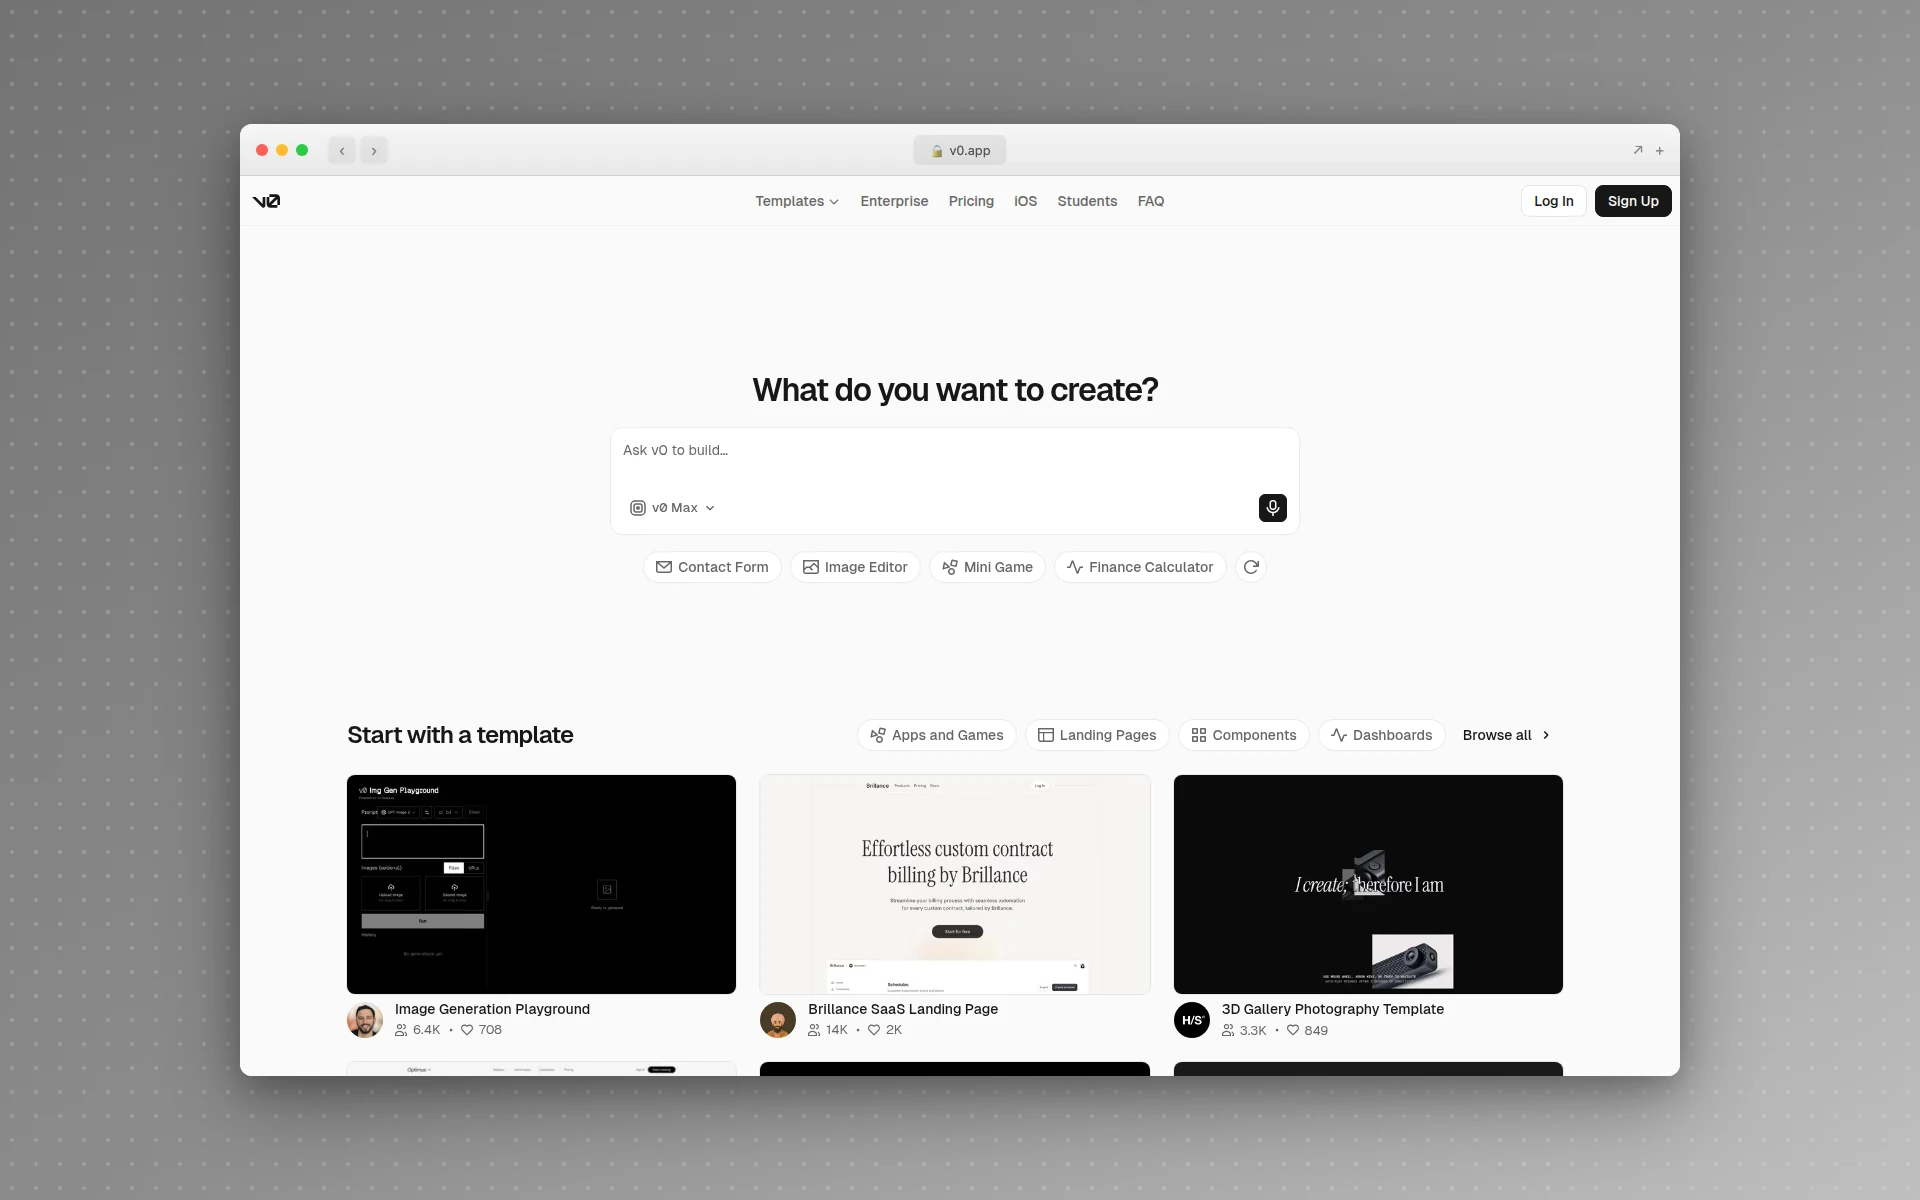 v0 is scoped to components rather than whole apps, and outputs React following shadcn/ui conventions.
v0 by Vercel does component-level work — a pricing table, a settings panel, a nav bar — in React and Tailwind following shadcn/ui conventions. Premium adds Figma imports and API access. Use it to replace the weakest piece of something another tool generated.
The catch: it stops at the component. Wiring it in is your job. $20/month.
If you mostly want faster typing: GitHub Copilot
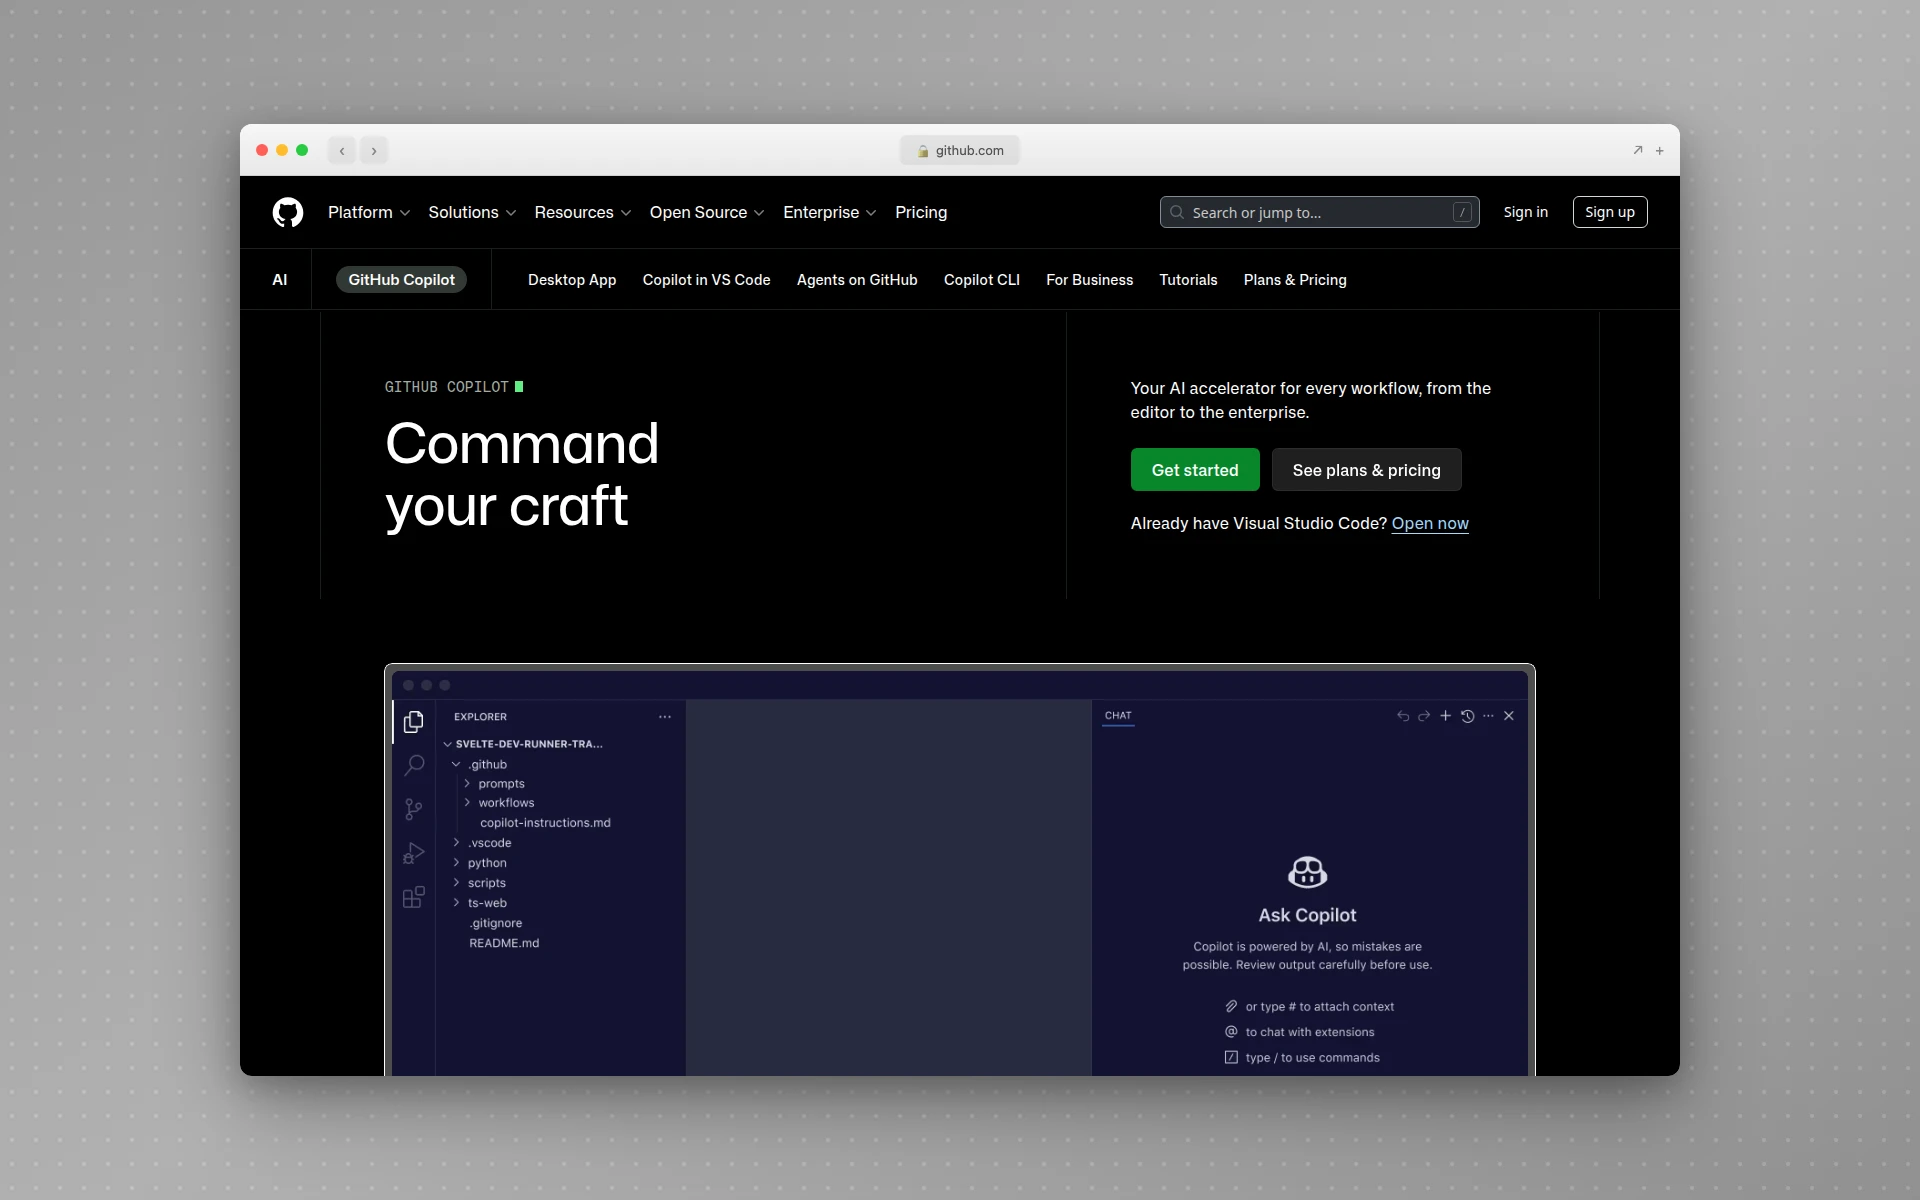 Copilot stays closest to normal coding — you write, it completes.
Copilot isn’t really vibe coding in the original sense — you’re still writing the code, just faster. It’s the cheapest way into AI-assisted work and it plugs into editors you already use. As of June 1, 2026 it runs on usage-based AI credits, though code completions stay unlimited. Pro is $10/month.
If what you’re missing is design: AIDesigner
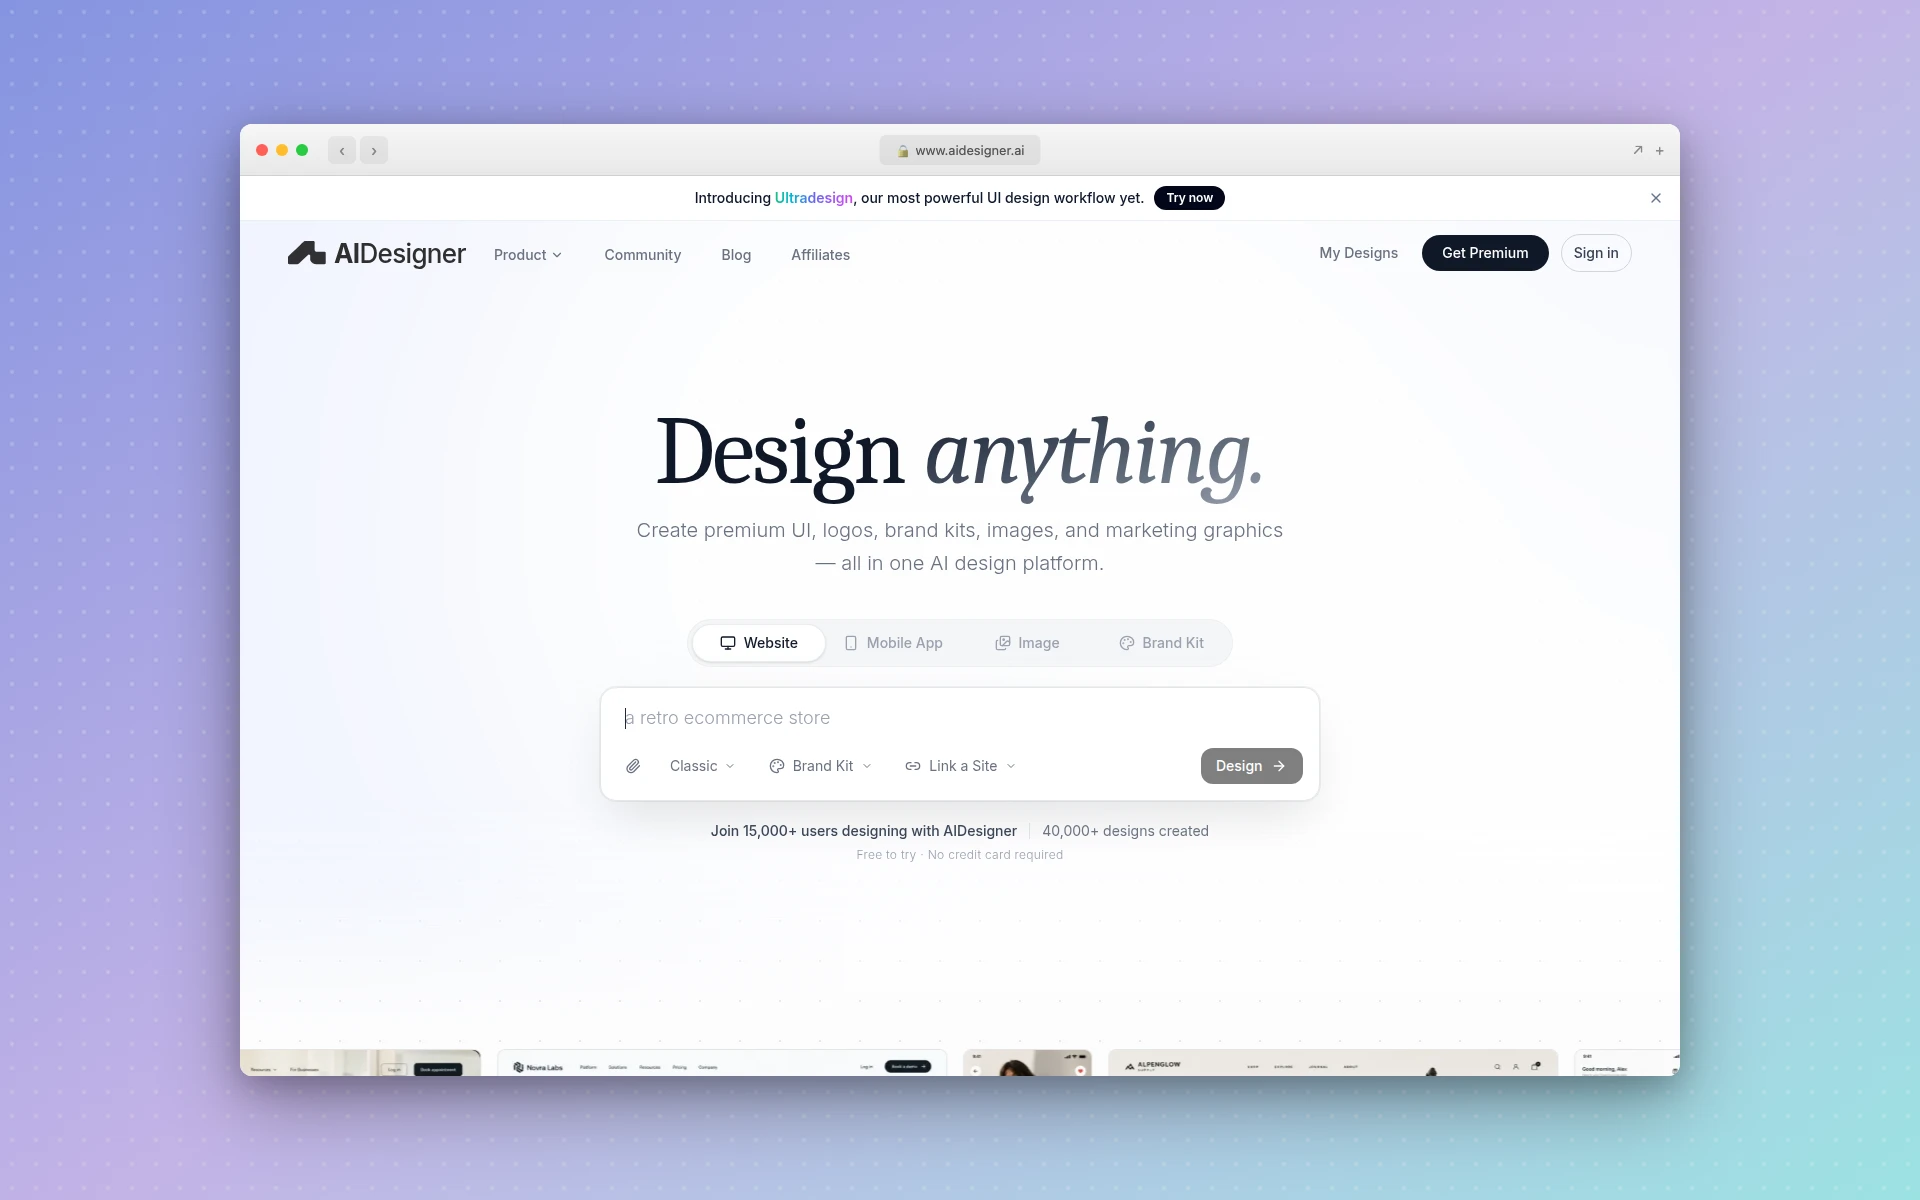 AIDesigner covers the layer the code-first tools skip: the interface itself.
If your problem is that everything you generate works but looks generic, none of the tools above solves it — that’s Step 4 below, and it’s the most common wall people hit. The design-side answer to it has its own name now: vibe design, where you generate a set of visual directions first and lock one before you build anything. AIDesigner generates the interface layer from a description, keeps it consistent across screens with saved brand kits, and connects to Claude Code, Codex, Cursor, VS Code, and Windsurf over MCP so it fits whatever you’re already using.
Free to start with 5 lifetime credits and no card, then $25/month for 100 credits.
Our roundup of the best AI coding tools goes deeper on the code-first end of that list.
Step 2: Write a Spec Before You Write a Prompt
This is the step people skip, and skipping it is why their first result comes back wrong.
Before you type anything into a tool, answer four questions in a sentence each:
- What does this thing do?
- Who uses it?
- What’s the single most important action a user takes?
- What should it feel like visually?
Five sentences, maybe six. That’s your spec, and it becomes your first prompt more or less verbatim.
Compare what that produces against the alternative:
Weak prompt:
“Build me a CRM.”
Spec-driven prompt:
“Build a lightweight CRM for a two-person real estate team. They track leads through four stages: new, contacted, viewing booked, and closed. The most important action is moving a lead between stages from a drag-and-drop board. Include a contact detail panel with notes and a last-contacted date. Clean and calm visually, lots of white space, no heavy borders.”
The first prompt forces the model to invent your data model, your user roles, and your auth flow, and it will invent all three wrong. The second one leaves almost nothing to guess.
You’ll notice the spec-driven version doesn’t specify a framework, a database, or a component library. That’s deliberate. Describe outcomes, not implementation. The tool is better at picking a stack than you are at guessing which stack it prefers.
Step 3: Generate the First Version
Paste the spec. Let it build. This part takes a few minutes and requires nothing from you.
When it finishes, judge exactly one thing: does the core flow work? In the CRM example, that means can you drag a lead from “new” to “contacted” and does it stay there.
Do not, on this pass, react to:
- Colors, fonts, or spacing
- Placeholder copy
- Missing secondary features
- The fact that it looks like every other AI-generated app
All of that is fixable later and none of it tells you whether the foundation is sound. If the core flow is broken, your spec was ambiguous — fix the spec and regenerate rather than patching forward from a bad base.
If the core flow works, you now have something real, and you’re maybe fifteen minutes in.
Step 4: Fix the Design Layer Separately
Here’s the wall everyone hits, and the reason this guide exists.
Your app works. It also looks like a bootstrap demo from 2014 — default blues, cramped spacing, a component library’s factory settings, a layout that technically holds together and inspires nothing. This isn’t a failure of the tool you picked. Code-first vibe coding tools optimize for working software, and visual design is a genuinely different problem that they solve by falling back on defaults. Every one of them falls back on the same defaults, which is why AI-generated apps have a recognizable look.
The instinct is to prompt your way out of it: “make it look more premium,” “use a nicer color scheme,” “make the spacing more modern.” This rarely works. You get a different set of defaults, you burn context, and the app usually drifts sideways instead of forward.
The fix is to stop asking the code tool to be a design tool. Generate the interface where interfaces get generated, then hand the result back as a reference.
This is what AIDesigner is for, and it’s the tool I reach for on every project that has a user-facing surface. You describe the interface the same way you described the app — “a lead pipeline board for a small real estate team, four columns, calm and spacious, muted greens” — and you get a polished, responsive design back in seconds. Not a wireframe. An actual designed interface with real typography, spacing, and color decisions.
Three things make it fit this particular step:
- Saved brand kits. Generate a 3x3 board of nine brand directions and save the one you want, or point it at a website URL and it extracts that site’s palette, typography, imagery, and art direction into a reusable kit. Every later generation reuses it, so your fifth screen matches your first. This is the piece code-first tools have no answer for.
- Reference modes. Point it at a site you admire and use clone, enhance, or inspire depending on how close you want to land. These runs cost 2 credits instead of 1 because the reference site gets analyzed first.
- An MCP server. If you’re already working in Claude Code, Codex, Cursor, VS Code, or Windsurf, AIDesigner connects over OAuth so your coding agent can generate and refine designs without you switching windows. Designing UIs with Claude Code walks through that setup in detail.
Then take the generated design back to your build tool and reference it directly. “Match this layout and color treatment” against a concrete visual works dramatically better than any adjective you can supply. You’ve replaced a vague aesthetic request with a specific target.
If you want to see how this compares to the alternatives before committing, our best AI UI design tools roundup covers the field.
Step 5: Iterate With One Change Per Message
Now you refine. The single most useful discipline here: change one thing per message.
Good iteration prompts:
- “Move the contact notes panel to the right side of the screen.”
- “The drag handle is too small on mobile — make it easier to grab.”
- “Add a last-contacted date under each lead card.”
Bad iteration prompt:
- “Fix the mobile layout, add filtering, move the notes panel, and make the colors warmer.”
One change per message costs you a few extra round trips and saves you the situation where four things changed, one of them broke something, and you can’t tell which. It also makes undo trivial.
Know when to start a fresh conversation. This is the failure mode nobody warns beginners about. When you’ve been fighting the same bug for several prompts, the context window fills with your failed attempts and the model’s failed fixes. It starts contradicting decisions it made earlier and breaking features that already worked. The conversation is now actively working against you.
The move is not to prompt harder. Open a new session, describe the current state and the specific problem cleanly, and continue from there. Recognizing that moment early is most of the skill.
Step 6: Review Before You Ship
Vibe coding gets you to something real quickly. It does not get you to something safe, and the gap between those is where people get hurt.
Before anything goes public:
- Click every button. The paths you didn’t explicitly ask for are the ones that break.
- Check it on a phone. Generated layouts are usually responsive in principle and awkward in practice.
- Read anything touching auth, payments, or user data. This is the one place where “I don’t read the code” stops being acceptable. Generated code routinely ships with missing input validation, permissive defaults, and secrets in the wrong place.
- Have someone else try it. They’ll do something in thirty seconds that never occurred to you.
For a weekend project, skim these. For anything real users touch, don’t.
How Long Does It Take to Vibe Code an App?
A working prototype of a small app typically takes 30 to 90 minutes, including iteration. A polished, production-ready version takes considerably longer, because review, security, and edge cases are where the time actually goes. The first working version is fast. The last 10% is not, and it never has been.
The Mistakes That Waste the Most Time
Ranked by how much time they cost:
- Asking for everything in one prompt. The model guesses your data model, auth, and roles, and guesses wrong. Build one feature at a time.
- Arguing with a poisoned conversation. Covered above, and it’s the expensive one. Start fresh.
- Prompting the code tool for visual quality. You get different defaults, not better design. Generate the design separately.
- Regenerating instead of refining. Starting over throws away the parts that worked. Refine unless the foundation is genuinely wrong.
- Describing implementation instead of outcomes. “Use Redux for state” is a worse prompt than “the filter selection should persist when you navigate away and come back.”
- Skipping the spec. Two minutes of writing saves twenty minutes of correction.
Can You Vibe Code Without Knowing How to Code?
Yes. Tools like Bolt.new, Lovable, and Replit are built for people who have never written code, and AIDesigner generates the interface layer from a description. What you do need is the ability to describe what you want precisely and the judgment to tell whether the result is good. Those two skills matter far more than syntax knowledge.
That said, a little technical literacy compounds fast. Knowing roughly what a database is, what authentication does, and why an API key shouldn’t sit in frontend code will make your prompts better and your review meaningful. You don’t need to write code. Understanding what it’s doing is worth the afternoon it takes to learn.
Where to Go From Here
Once the loop feels natural, the useful next moves depend on direction. If you’re building interfaces, the best AI website generators covers the site-building end. If you want your coding agent and your design tool talking to each other directly, MCP servers are how that gets wired up. And if you’re picking a primary code editor, Claude Code vs Cursor is the comparison most people are actually making.
The honest summary: vibe coding compresses the distance between an idea and something you can click. It doesn’t compress the distance between something you can click and something you’d stake a business on. Treat it as the fastest way to get to a real first version, review what matters, and you’ll get a lot out of it.
Start with the design layer if you’re not sure where to begin — it’s the part that makes a generated app stop looking generated. Try AIDesigner free with 5 credits and no card required, and see what your idea looks like when it’s actually designed.
Frequently Asked Questions
How do you vibe code?
You vibe code by describing what you want in plain English, letting an AI tool generate the code, then refining it through follow-up prompts. The loop is spec, generate, review, iterate, ship. You judge whether the output works rather than reading every line, and you make one change per prompt so you can tell what caused what.
Can you vibe code without knowing how to code?
Yes. Tools like Bolt.new, Lovable, and Replit are built for people who have never written code, and AIDesigner generates the interface layer from a description. What you do need is the ability to describe what you want precisely and the judgment to tell whether the result is good. Those matter more than syntax knowledge.
How long does it take to vibe code an app?
A working prototype of a small app typically takes 30 to 90 minutes, including the iteration passes. A polished, production-ready version takes considerably longer because review, security, and edge cases are where the time actually goes. The first working version is fast; the last 10% is not.
Why does AI-generated UI look generic?
Code-first vibe coding tools optimize for working software, not visual design, so they fall back on default component libraries and safe spacing. Everything they produce converges on the same look. The fix is generating the design separately with a tool built for it, then handing that back as a reference.
What is the biggest mistake beginners make when vibe coding?
Asking for the entire app in one prompt. The model has to guess your data model, auth flow, and user roles, and it guesses wrong. Build one feature at a time. The second biggest mistake is arguing with a broken conversation instead of starting a fresh one with a corrected spec.
Is vibe coding good enough for production software?
It’s good enough to reach production, but not without review. AI-generated code routinely ships with missing input validation, permissive defaults, and secrets in the wrong place. Use vibe coding to get to something real quickly, then apply normal engineering discipline to anything handling user data or payments.