Claude Code is the best coding agent I’ve used, full stop. It refactors fearlessly, writes tests that catch real bugs, and runs entire migrations unattended. But out of the box, the UI it generates looks like every other LLM’s UI — Inter font, a purple gradient, three rounded cards, a blue primary button, and a hero section that says “Built for the modern team.” Generic. Forgettable.
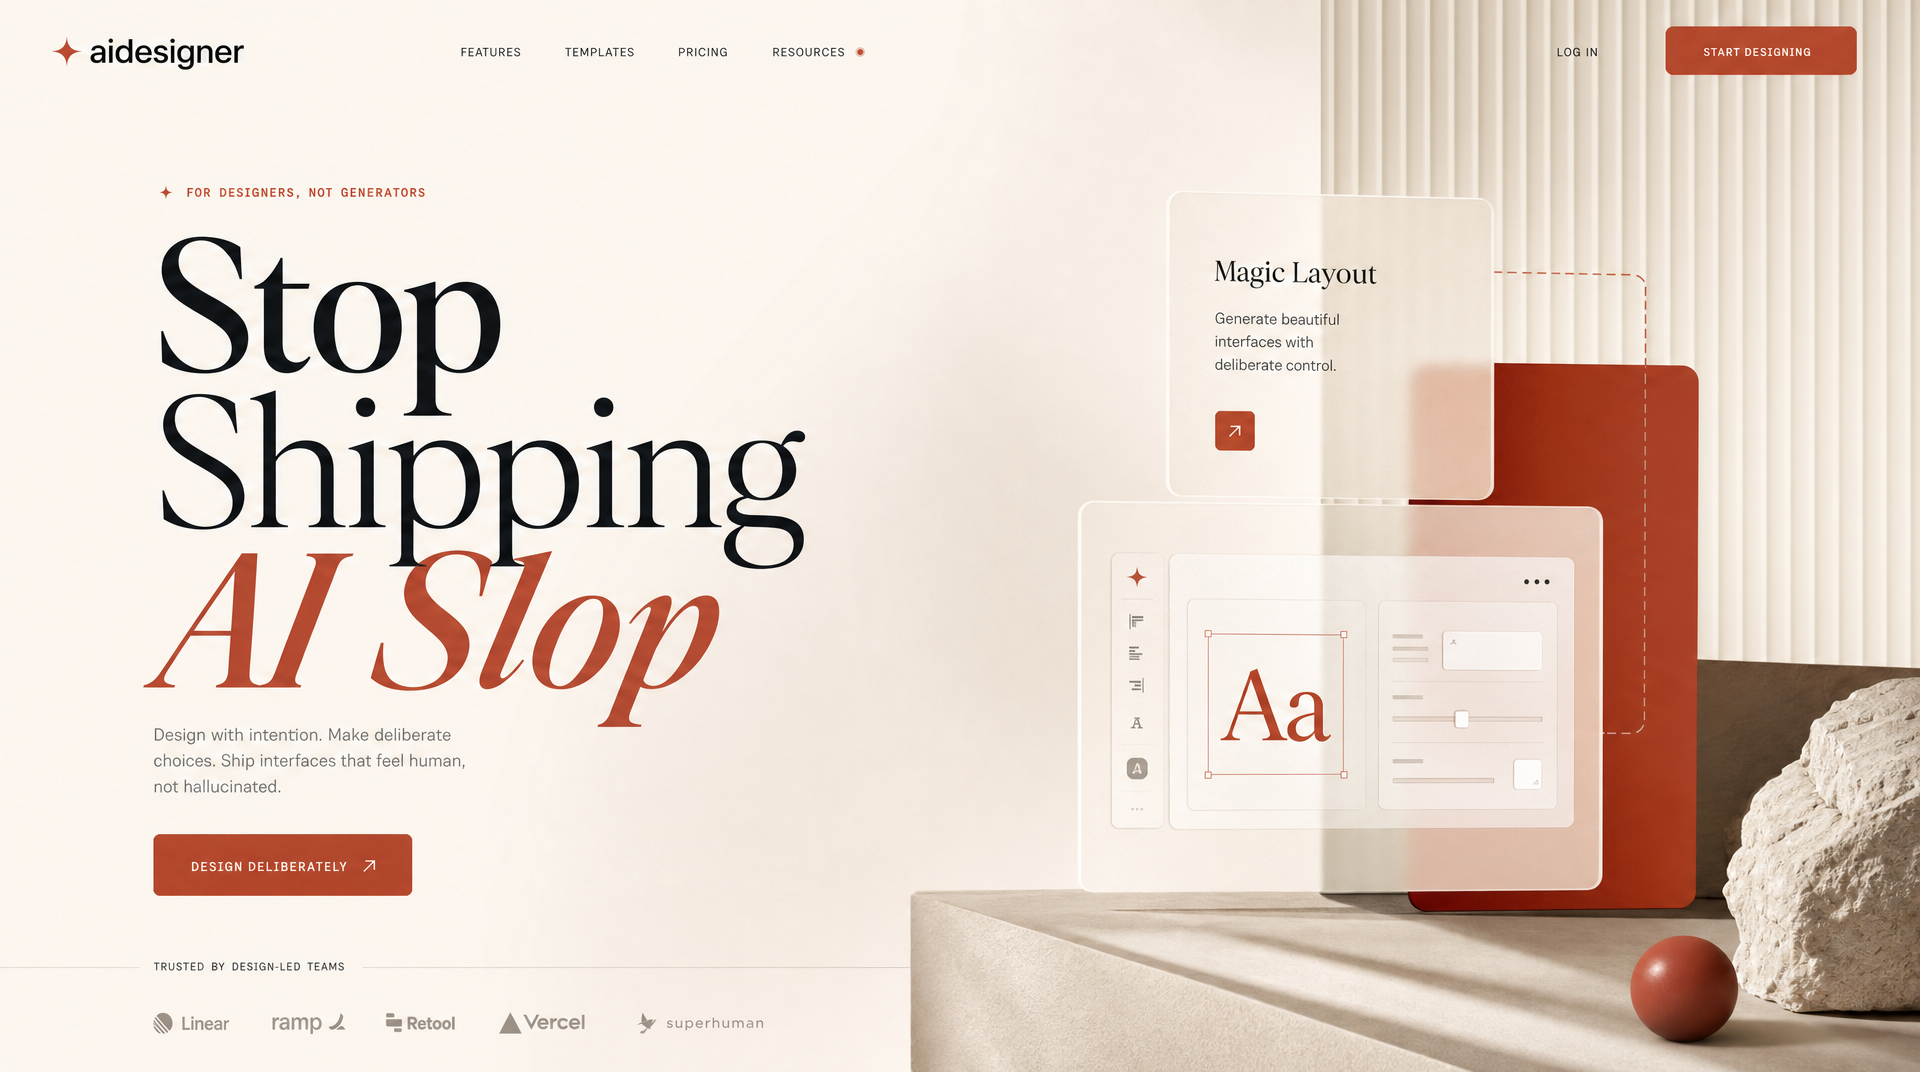 What deliberate output looks like — Bricolage / Fraunces type pairing, single dominant color, atmospheric depth, asymmetric grid. Generated in seconds with a single prompt to AIDesigner’s MCP server, then handed to Claude Code to implement.
This is a fixable problem, and the fix isn’t subtle: pair Claude Code with a design tool that actually has visual taste, then let Claude Code do the engineering. After months of shipping production frontends this way, the workflow that consistently produces output I’d ship looks the same every time — Anthropic’s Frontend Design plugin, a tight CLAUDE.md block, shadcn/ui wired in via MCP, and AIDesigner as the visual reference layer that gives Claude Code something polished to build against. Without that last piece, the rest of the setup gets you 60% of the way and then plateaus.
This guide walks through the exact stack: the Anthropic Frontend Design plugin, the CLAUDE.md block I drop into every project, shadcn/ui wiring, AIDesigner’s MCP server for the visual references and brand kits Claude Code can’t generate on its own, and the screenshot-refine loop that closes the last 25%.
If you’re still picking your stack, I’ve also written a Claude Code vs Cursor comparison and a list of the best MCP servers that pair well with this workflow. For the broader category, our roundup of the best AI coding tools covers Cursor, Copilot, Aider, and the rest in detail.
Why Claude Code UIs Look Generic by Default
Claude Code generates generic UIs because of distributional convergence. Anthropic’s official Frontend Aesthetics cookbook, written by Prithvi Rajasekaran in October 2025, names this directly: “You tend to converge toward generic, ‘on distribution’ outputs. In frontend design, this creates what users call the ‘AI slop’ aesthetic.” The model has been trained on enormous amounts of web UI, so without strong direction it samples from the statistical center: the safe, the universal, the inoffensive.
The symptoms are stable across tools. Inter or Roboto for body and headings. A purple-blue gradient as the hero background. A three-column “features” grid with rounded cards and 8px shadows. A blue primary button labeled “Get Started.” If you’ve used any LLM coding tool in 2025 or 2026, you’ve seen this exact page a hundred times.
The good news: this is a tooling problem, not a model problem. Claude is fully capable of distinctive design. It just needs to be told that distinctive is what you want — explicitly, with constraints, with references, and with a verification loop. Everything below is about supplying those four things.
Install Anthropic’s Frontend Design Plugin First
The single highest-leverage change is installing Anthropic’s official Frontend Design plugin, which they shipped on November 12, 2025. It’s a SKILL.md that pushes Claude Code to make deliberate aesthetic choices before writing any code. The skill explicitly bans overused fonts and pushes Claude to commit to a specific visual direction.
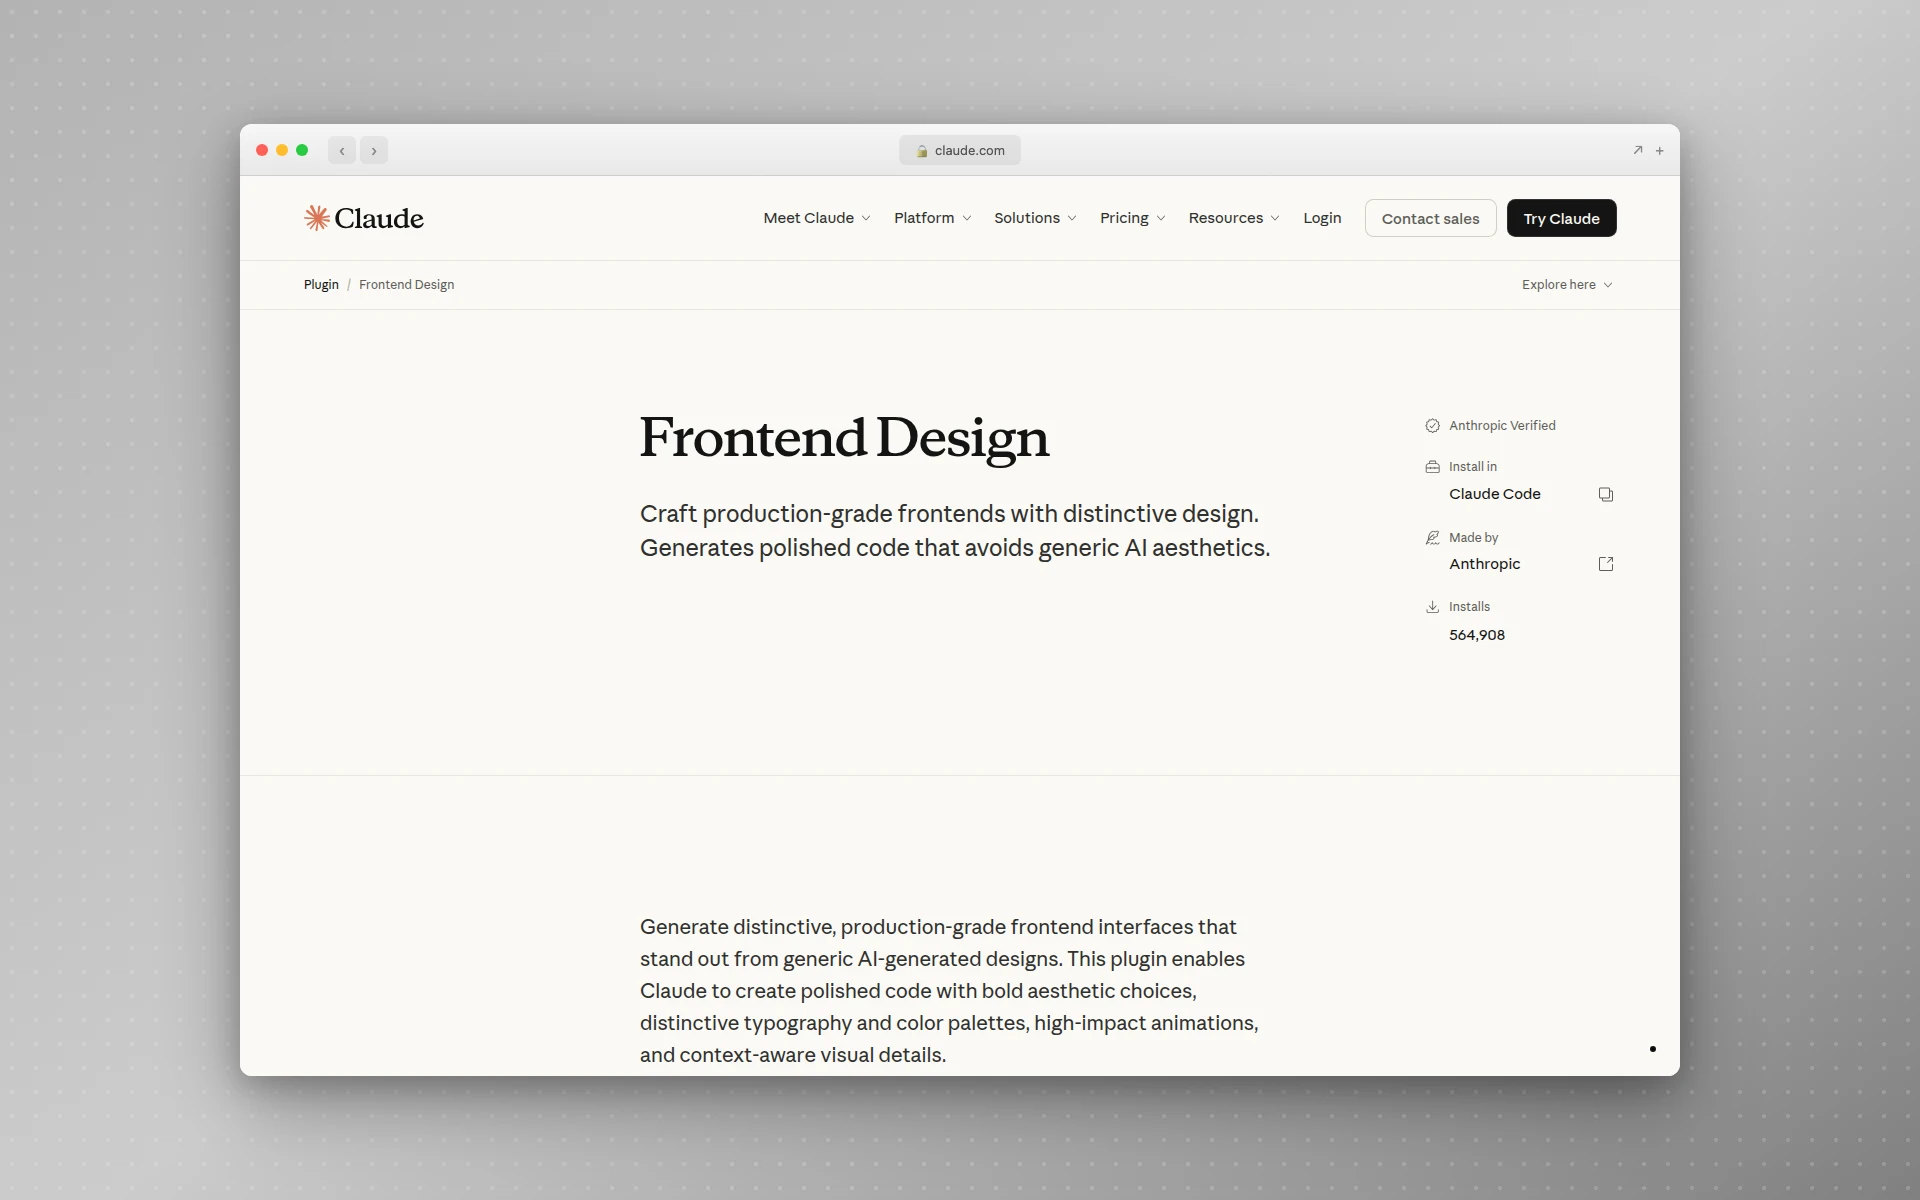 Anthropic’s official Frontend Design plugin page — the load-bearing piece of the whole workflow.
You can install it from Claude Code’s plugin marketplace, or pull the SKILL.md directly into your project:
mkdir -p .claude/skills/frontend-design
curl -o .claude/skills/frontend-design/SKILL.md \
  https://raw.githubusercontent.com/anthropics/claude-code/main/plugins/frontend-design/skills/frontend-design/SKILL.md
Once installed, the skill activates automatically when you ask Claude to build frontend interfaces. Behind the scenes it forces Claude to pick a clear direction from a list that includes brutalist, maximalist, retro-futuristic, organic, luxury, playful, editorial, brutalist, art deco, soft/pastel, and industrial. The principle the skill leans on is that “bold maximalism and refined minimalism both work — the key is intentionality, not intensity.”
In my testing, this single change moved more output from “generic SaaS template” to “this is a real design” than any other intervention. It doesn’t fix everything, but nothing else fixes anything without it installed first.
Add a Frontend Aesthetics Block to Your CLAUDE.md
The Frontend Design plugin is global guidance. Your CLAUDE.md is where you tell Claude what your design system looks like. The two compound.
Anthropic’s Claude Code best practices note that CLAUDE.md “is loaded every session, so only include things that apply broadly.” For frontend work, broadly-applicable means: the fonts you use, the color discipline you’ve committed to, the patterns you’ve forbidden, and the libraries Claude should reach for first.
Here’s the block I drop into the CLAUDE.md of every project I’m doing UI work in. It borrows directly from the official frontend_aesthetics prompt in the cookbook, then adds project-specific rules:
# Frontend aesthetics

Avoid generic AI aesthetics. Make creative, distinctive choices.

## Typography
- Never use Inter, Roboto, Open Sans, Lato, Arial, or system fonts.
- Body: Bricolage Grotesque. Display: Fraunces. Mono: JetBrains Mono.
- Use weight extremes: 200 vs 800, not 400 vs 600.
- Size jumps of 3x+, not 1.5x.

## Color & theme
- Commit to a single dominant color with one sharp accent.
- All colors live in CSS variables in `app/globals.css`.
- Forbidden: purple-to-blue gradients on white backgrounds.

## Backgrounds
- Layered CSS gradients or geometric patterns over solid colors.
- Hero sections must have atmospheric depth.

## Motion
- CSS-only for non-React. Motion (formerly Framer Motion) for React.
- One well-orchestrated page-load reveal beats scattered micro-interactions.

## Components
- Always use shadcn/ui primitives where they exist (Button, Card, Dialog, Form).
- Never hand-roll a component that exists in the shadcn registry.
- Tailwind classes only. No inline styles. No CSS modules.
Two things about this block that matter more than they look:
First, it’s prescriptive, not aspirational. “Never use Inter” is enforceable. “Use beautiful typography” is not. Claude follows hard rules cleanly and ignores soft suggestions almost entirely.
Second, it bans the failure modes by name. Telling Claude what not to do is more effective than telling it what to do, because the failure modes are exactly the high-probability defaults the model would otherwise reach for. A Reddit thread in r/ClaudeAI captured the same insight succinctly: “By default it tries not to offend anybody, so it picks the most generic choices possible.”
The Anthropic best-practices doc warns against bloated CLAUDE.md files — it explicitly says “if your CLAUDE.md is too long, Claude ignores half of it because important rules get lost in the noise.” Keep the design block tight. Twenty lines is plenty.
Wire In a Real Component Library via MCP
Claude Code generating components from scratch is where AI slop is worst. It will hand-roll a Button that looks 80% like a shadcn Button, then a Dialog that looks 80% like a shadcn Dialog, then a Form that looks 80% like a Form — and your codebase ends up with three component systems fighting each other.
The fix is connecting Claude directly to a real component library via MCP. The official shadcn/ui skills documentation covers two pieces:
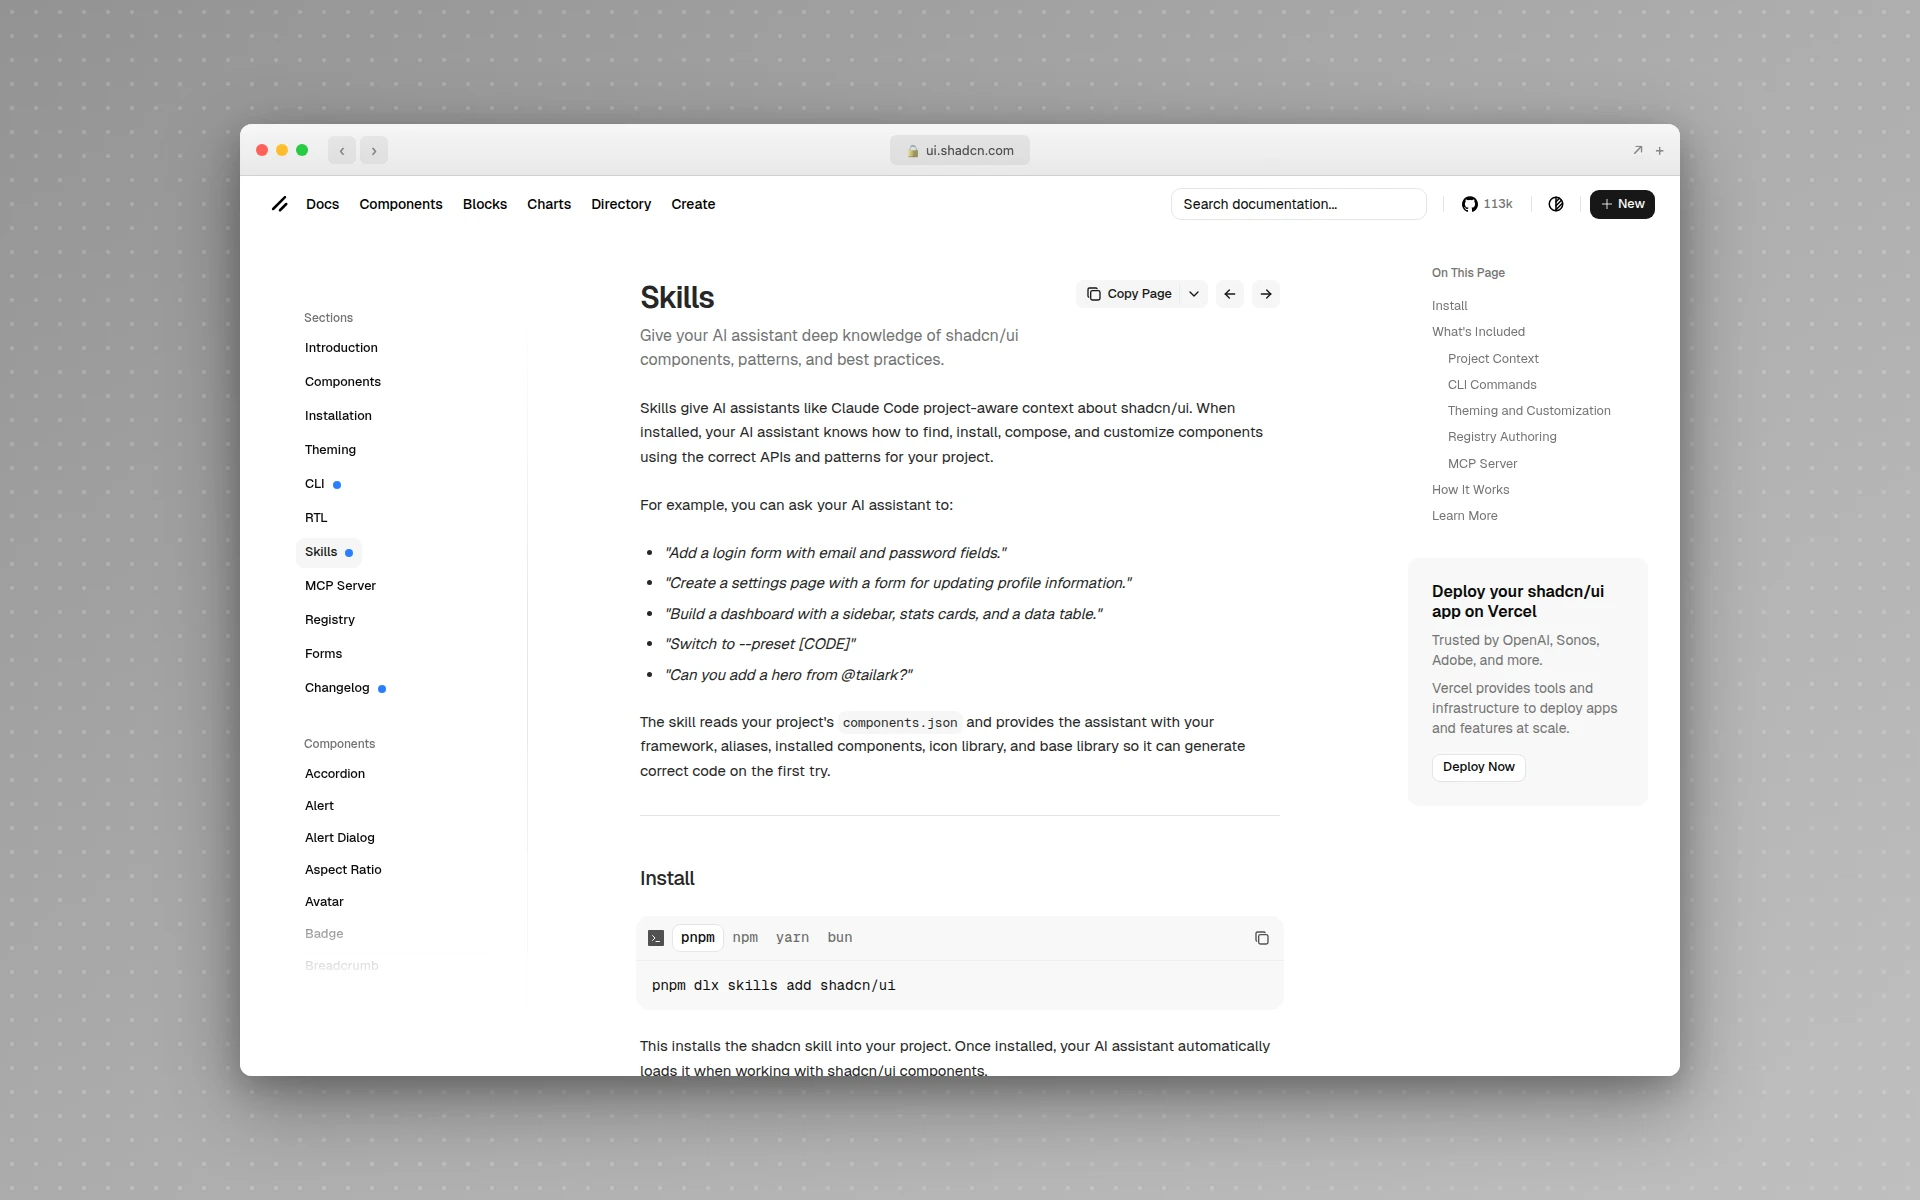 shadcn/ui’s official skills docs — both pieces of the setup live on this page.
# 1. Add the shadcn MCP server so Claude reads the live registry
claude mcp add shadcn -- npx shadcn@latest mcp

# 2. Install the shadcn skill so Claude understands your project's setup
npx skills add shadcn/ui
The MCP server matters because it lets Claude Code query the live shadcn registry — getting current prop signatures, current import paths, current FieldGroup patterns — instead of guessing from training data that might be six months stale. The skill matters because it reads your components.json and tells Claude which primitives are already installed, what your alias paths are, and which Tailwind variant you’re on.
Combined, these two changes flip the failure mode. Instead of inventing a Button, Claude runs shadcn list (or its MCP equivalent), sees your existing Button in components/ui/button.tsx, and uses it directly. Instead of guessing at a <Form> API, it pulls the current FieldGroup pattern from the registry and writes it correctly the first time.
This pattern generalizes. If you use Radix directly, point Claude at the Radix docs via the official Radix MCP. If you use Mantine or Chakra, the same approach works — anything with a queryable docs source or component registry.
Give Claude a Visual Reference, Always
Text prompts produce text-shaped output. Visual prompts produce visual output. This is the single most underrated lever in coding-agent UI work, and it’s the one most people skip.
The Anthropic best-practices doc is direct about it: “verify UI changes visually” with screenshots, and “paste images directly” — drag-and-drop is supported. Claude Code’s vision is excellent. It can read a hero layout from a reference image and reproduce the structure, the spacing rhythm, even the type pairings with surprising fidelity. The hard part isn’t getting Claude to use a reference. The hard part is having a good reference in the first place.
Here’s how the four practical options compare for the reader who’s actually building something new:
| Reference source | Best for | Friction | Output quality |
|---|---|---|---|
| AIDesigner MCP (generated concept) | Any new project — produces a polished design on demand from a prompt | None — single MCP call, no designer needed | Highest. Designed for this workflow. |
| Figma frame via MCP | You already have a designer who’s shipped frames | High — needs a designer + finished Figma file | Highest when the frame is well-structured |
| Screenshot of an existing design | You explicitly want to clone/match a competitor | Medium — only works if a target already exists | Highest, but limits you to existing designs |
| Plain text description | Don’t | None | AI slop |
For most readers — building a real product, no in-house designer, no existing frame to copy from — the realistic choice is between “generate a polished concept on demand” and “ship AI slop.” Screenshots of competitors and Figma frames are great when they apply, but they don’t apply to the case you’re actually in.
That’s the gap AIDesigner’s MCP server is built for. It gives Claude Code the one thing it can’t do natively: produce a deliberate, on-brand visual concept in a single call, then hand that concept back as a reference Claude implements against. The hero image at the top of this post was generated exactly this way — one prompt, one MCP call, ready to feed into Claude Code in under a minute.
Why AIDesigner Is the Design Tool I Pair With Claude Code on Every Project
I’ve tried every workflow in the table above. AIDesigner is the only one that solves the full loop — concept → reference → brand consistency across sessions — without leaving your editor. It’s the design tool I keep open next to Claude Code, and it’s the one I’d recommend without hesitation if you’re shipping production frontends with a coding agent.
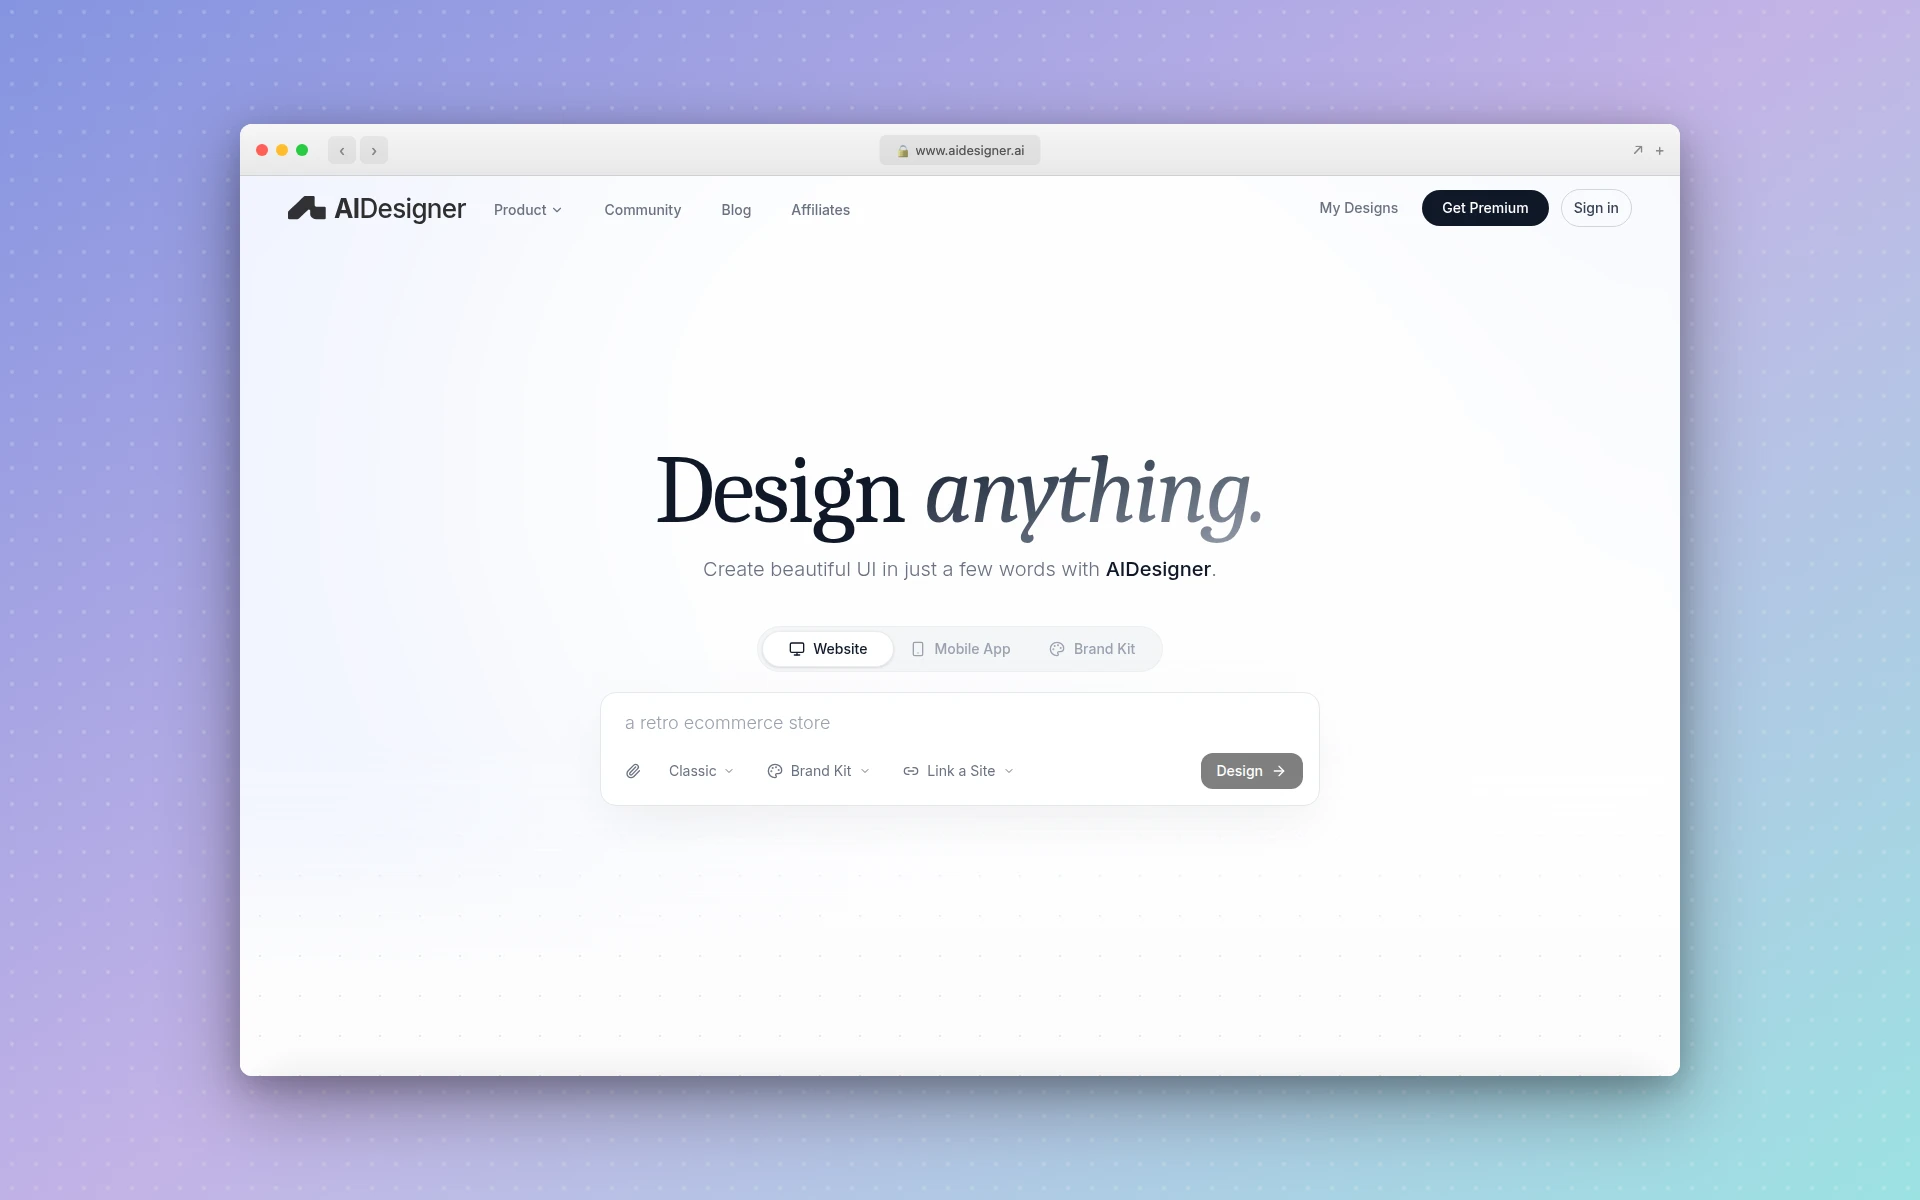 AIDesigner’s homepage — the design tool I pair with Claude Code on every UI project.
A few specific advantages that matter for this workflow:
generate_website_design_imageproduces a premium website concept image as a visual reference, with optional reference images and brand-kit steering. Claude Code consumes the resultingcdn.aidesigner.aiURL like any pasted screenshot — except you generated exactly the design you wanted.generate_designproduces editable HTML, so Claude Code can read both the visual reference and the structural anchor in one pass. This is the pattern that closes the gap between “looks right” and “works in your codebase.”generate_branding_kit_variationsgenerates a 3x3 board of nine distinct brand directions from a single prompt. Pick one, save it as a brand kit withcreate_brand_kit_from_variation, and every subsequent design generation stays visually consistent — automatically. If you want the same workflow outside MCP, AIDesigner’s brand kit generator is the direct entry point. This is the design-system-drift fix Claude Code needs.- Reference modes (
mode: "clone"for 1:1 recreation,mode: "enhance"to modernize,mode: "inspire"for visual style only) let you point AIDesigner at any reference URL and get a usable starting point. Bidirectional with the screenshot workflow. - Asset extraction pulls up to 12 embedded photos, logos, illustrations, and product shots out of a generated website image into separate reusable canvases. One generation becomes a brand-consistent asset library Claude Code can drop into components.
- Brand-kit-aware image generation keeps every subsequent
generate_imagecall on-system. Hero images, feature illustrations, og:image tags — all stay visually consistent without you re-prompting the brand each time.
The pattern I run on every project: ask AIDesigner via MCP to generate a website design image for the section I’m building, paste the resulting URL into Claude Code with “build this as a React component using our shadcn primitives,” and let Claude wire it into the real codebase. The design has the polish a design tool produces. The code has the integration a coding agent produces. Each tool does the job it’s actually best at — and they share the same brand kit, so the result is consistent across every session.
The pricing math also lands in AIDesigner’s favor for this workflow. AIDesigner Pro starts at $25/month for 100 credits — enough for roughly 50 reference designs and 50 follow-on edits per month. Reference-mode generations cost 2 credits (1 for URL analysis + 1 for generation), standard prompt-driven generations cost 1 credit, and credit rollovers are included on every Pro tier. For a single shipped product, the credit cost over its entire build cycle is in the $25-$100 range — less than an hour of contract designer time and dramatically less than the alternative of shipping generic AI-slop output.
Run the Design → Screenshot → Refine Loop
Generating a UI in one shot rarely works. The reliable pattern is a tight verification loop: Claude writes, Claude screenshots, Claude diffs against the reference, Claude refines. Anthropic’s best-practices doc calls verification “the single highest-leverage thing you can do” and gives the exact pattern:
“[paste screenshot] implement this design. take a screenshot of the result and compare it to the original. list differences and fix them.”
Three ways to run the screenshot half of this loop:
- Claude in Chrome extension. Anthropic’s first-party browser tool. Claude opens a tab, runs the dev server, screenshots the result, iterates. The lowest-friction option if you live in Chrome.
- Playwright MCP. Connects Claude to a headless browser so it can screenshot any URL on demand. More flexible than Chrome and works in headless contexts.
- A custom screenshot script in your repo. The lowest-tech approach: a
scripts/screenshot.shthat runsnpx puppeteer screenshotagainstlocalhost:3000and saves to a known path. Add it toCLAUDE.mdso Claude knows to run it.
After the screenshot, the prompt is the work. Bad: “is this good?” Good: “Compare screenshots/result.png to the reference. List exactly what differs in: typography size hierarchy, color palette, spacing rhythm, hero section structure. Fix the deltas.”
In my testing, two passes of this loop is the sweet spot. The first pass closes 70% of the gap. The second pass closes another 25%. Past that you’re chasing pixel-level details that need a human eye anyway. Three passes burns tokens for diminishing returns; if you’re still off after two, your reference image was probably ambiguous and you need a clearer one.
Lock the Result Into a Token File
The first time Claude lands a design you like, capture it. Otherwise the next session starts from defaults again, you re-run the whole setup, and you pay for the same iteration twice.
The pattern is straightforward: ask Claude to extract the design system from the working code into a tokens file. Specifically:
Read app/page.tsx and app/globals.css. Extract the design system into
app/design-tokens.ts with named exports for:
- colors (background, foreground, primary, accent, muted, border)
- typography (fontFamily.body, fontFamily.display, fontFamily.mono,
  scale, weights)
- spacing (the actual spacing scale you used, not Tailwind defaults)
- radii (the actual radius values you used)
- motion (duration, easing)

Then update tailwind.config.ts to read from these tokens instead of
inline values. Update CLAUDE.md to reference design-tokens.ts as the
source of truth for any new UI work in this project.
The mention in CLAUDE.md is the load-bearing piece. Future sessions read it, see “design tokens live in app/design-tokens.ts,” and start from your existing system instead of from generic defaults. The drift problem disappears. (If you’ve never built a design system before and want a primer, our what is a design system guide covers the basics — tokens, components, governance — in plain language.)
If you’re using AIDesigner alongside Claude Code, the MCP equivalent is saving the brand kit. Generate a 3x3 brand variation board with generate_branding_kit_variations, pick the tile that matches your locked design, then call create_brand_kit_from_variation to save it. Pass the resulting brand_kit_id to every future generate_design or generate_image call and your visuals stay on-system across sessions.
Either way, the goal is the same: turn the result of one good iteration into the starting point for the next ten.
Common Mistakes That Quietly Wreck the Workflow
A few patterns I’ve watched ruin output that should have worked:
Skipping the plugin and the CLAUDE.md block. People try to fix Claude Code UI quality with cleverer prompts. Cleverer prompts don’t beat persistent context. The plugin and the CLAUDE.md block work in every session, every prompt, automatically. Set them up once.
Letting the CLAUDE.md balloon to 400 lines. The same best-practices doc that recommends CLAUDE.md also warns: “Bloated CLAUDE.md files cause Claude to ignore your actual instructions!” If you’ve added everything you’ve ever thought of, your design rules are competing with database conventions and git workflow notes. Move the noise out into skills, which load on demand.
Asking for “modern” or “clean” design. These words have no information content for an LLM. Every site is “modern and clean.” Ask for “editorial layout with serif display typography and asymmetric grid” — Claude has actual training data to anchor on. This is the same lesson the broader vibe coding school has been internalizing: specificity beats vibes when you actually want to ship.
Not pasting a reference. If you’re describing the design in words and you have a reference image sitting in your clipboard, you’re leaving 80% of the quality on the table. Paste it. And if you don’t have a reference image, that’s the exact problem AIDesigner’s MCP server solves — call generate_website_design_image, get a polished concept in seconds, hand the URL to Claude Code. Don’t ship blind.
Trusting first-pass output. First passes are drafts. Always run the screenshot-and-compare loop at least once before you call it done.
Refining the same chat for hours. Anthropic’s docs flag this: “If you’ve corrected Claude more than twice on the same issue in one session, the context is cluttered with failed approaches. Run /clear and start fresh with a more specific prompt that incorporates what you learned.” Long sessions degrade. Fresh sessions with better prompts win.
Frequently Asked Questions
Why does Claude Code generate generic-looking UIs?
Claude Code defaults to generic UIs because of distributional convergence — its training data is dominated by safe, on-brand SaaS layouts that work universally. Without explicit aesthetic guidance, the model samples from the statistical center: Inter font, purple-on-white gradients, three-card grids. Anthropic’s frontend_aesthetics cookbook calls this the “AI slop” problem and recommends committing to a specific visual direction in your prompt.
How do I make Claude Code design better UIs?
Three things move the needle most: install Anthropic’s official Frontend Design plugin, add a design-aesthetic block to your CLAUDE.md banning generic fonts and patterns, and pair Claude Code with AIDesigner’s MCP server so it always has a polished visual reference to build against. AIDesigner generates the on-brand design concepts Claude Code can’t produce on its own, then Claude Code implements them into your real components. Reference-driven generation produces dramatically less generic output than text-only prompts.
What is the Anthropic Frontend Design skill?
Frontend Design is an official Anthropic plugin published on November 12, 2025 that pushes Claude Code to make deliberate aesthetic choices before writing code. It encourages committing to a specific direction — brutalist, maximalist, retro-futuristic, editorial, luxury, playful — and explicitly bans overused fonts like Inter and Roboto and clichés like purple gradients on white backgrounds.
Does Claude Code work with shadcn/ui?
Yes, and it works much better when configured properly. Add the official shadcn MCP server with claude mcp add shadcn -- npx shadcn@latest mcp so Claude can read your components.json and the live registry. Then add a one-liner to your CLAUDE.md telling Claude to use shadcn primitives by default. Without this setup Claude often hand-rolls components that already exist in your project.
How do I give Claude Code a Figma design to implement?
The most reliable workflow is to paste a screenshot of the Figma frame directly into the Claude Code prompt and reference it explicitly. Claude Code accepts pasted images and uses them as visual targets. For tighter integration, install the official Figma MCP server so Claude can pull frame metadata, layer names, and tokens. Either way, give Claude verification criteria — take a screenshot of the result and compare it to the original.
Should I use Claude Code or a dedicated AI design tool?
Use both — and the specific pairing that works is Claude Code plus AIDesigner. Claude Code is the best general-purpose coding agent, but it has weak visual taste because it was never trained to be a designer. AIDesigner is built specifically to fill that gap: its MCP server gives Claude Code on-demand visual references, brand kits that stay consistent across sessions, and a generate_design tool that produces editable HTML you can hand straight to Claude Code as both a structural and stylistic anchor. Design where design tools win, code where code tools win.
The Workflow That Actually Ships Production UI
If you read this whole thing and want the one-paragraph version: install the Anthropic Frontend Design plugin, drop a tight frontend-aesthetics block into your CLAUDE.md that bans Inter and purple gradients by name, wire shadcn in via MCP, connect AIDesigner’s MCP server to generate the visual references and brand kits Claude Code can’t produce on its own, and always run a screenshot-compare-refine loop before calling anything done. Each piece is small. The combined effect is the difference between AI-slop output and code you’d actually ship.
The deeper pattern: Claude Code is exceptional at the engineering part of frontend work — wiring components into routes, handling state, writing tests, integrating with your backend. It’s mediocre at the design part — typography taste, color discipline, spacing rhythm, knowing when a layout feels right. The fix is to give Claude Code stronger inputs: aesthetic direction in CLAUDE.md, real component primitives via MCP, and a dedicated design tool that pairs with it natively. AIDesigner is the design tool I built for exactly this workflow, and it’s the one I’d recommend without reservation if you’re shipping production frontends with a coding agent.
Don’t fight Claude Code’s nature. Pair it with the right tools, and stop expecting it to also be a designer.
Get started: Try AIDesigner free (5 lifetime credits, no card required) or install the AIDesigner MCP server in Claude Code and run your first design generation in under two minutes.
Looking for related setup? Browse our roundups of the best MCP servers, the best AI coding tools, and our deep Claude Code Skills guide for more on the SKILL.md format and where it fits alongside MCP and subagents. If you’re still picking between agents, the Claude Code vs Cursor comparison covers the full tradeoffs, and our Cursor AI guide walks through the equivalent setup if Cursor is your daily driver instead. For the dashboard-specific version of this exact workflow — F-pattern layout, KPI strips, color discipline — see how to design a dashboard UI.